
Last updated November 4, 2026
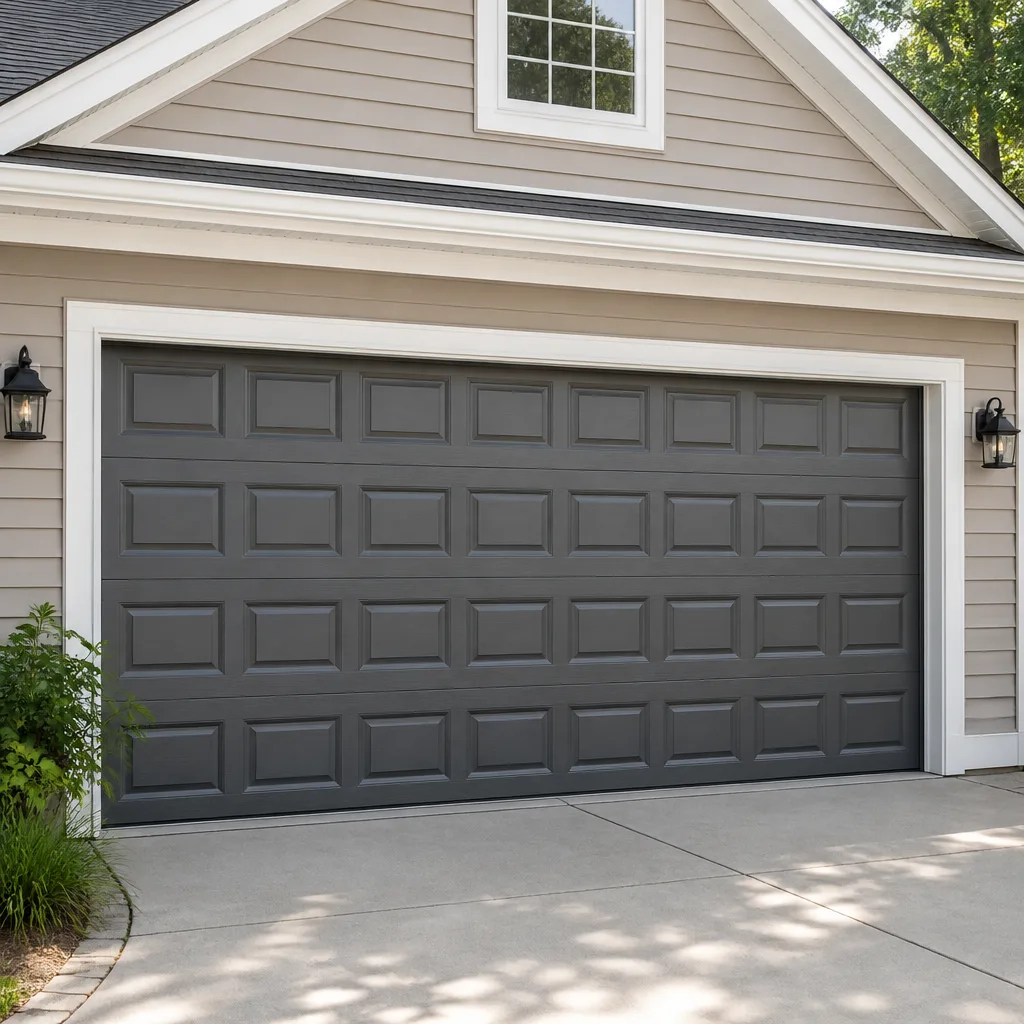 Raised-panel steel
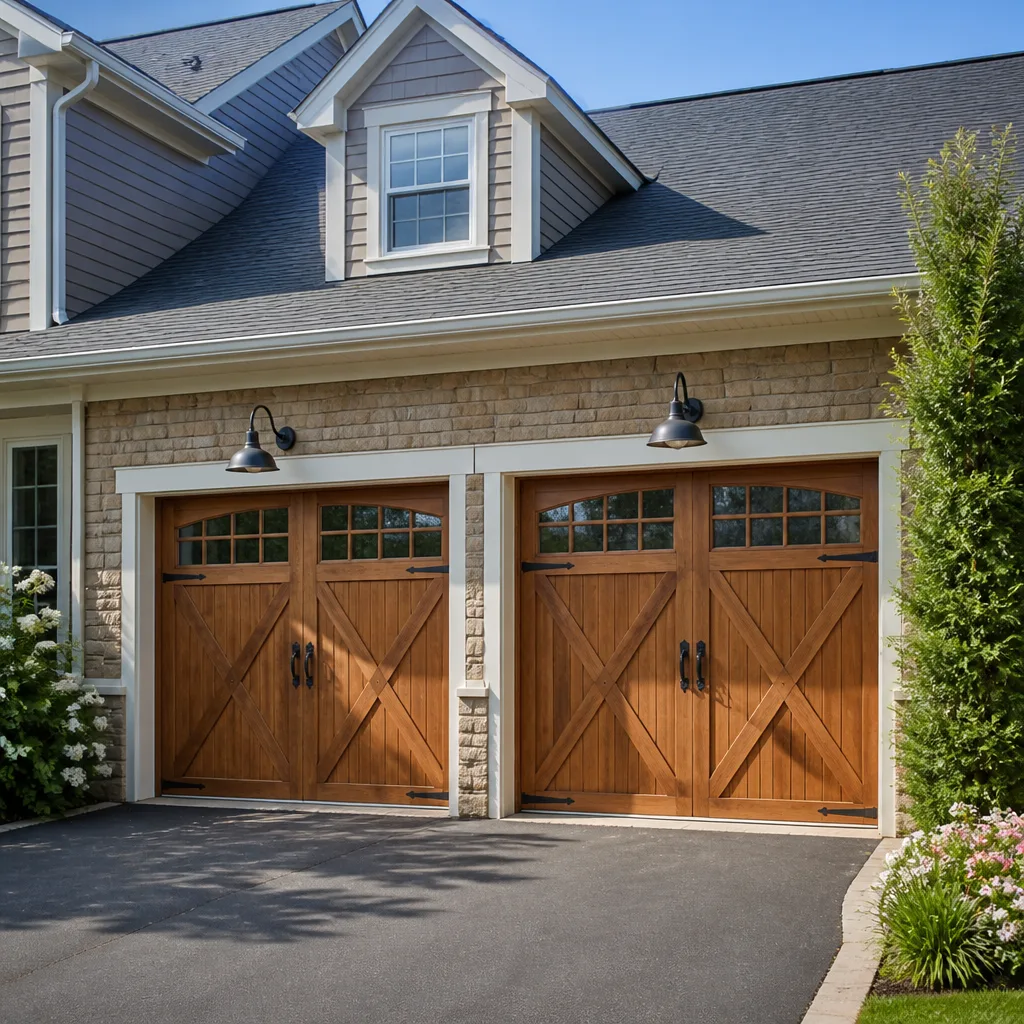 Carriage house
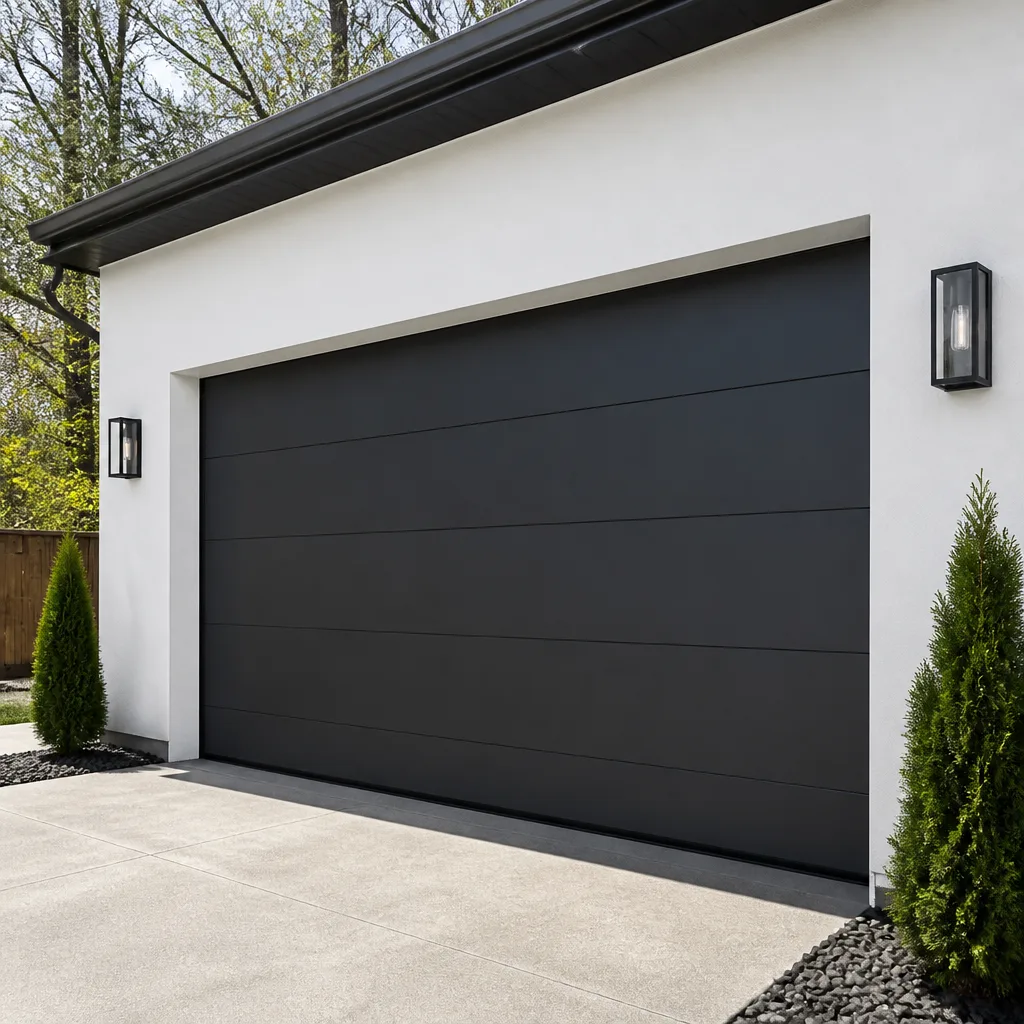 Modern flush
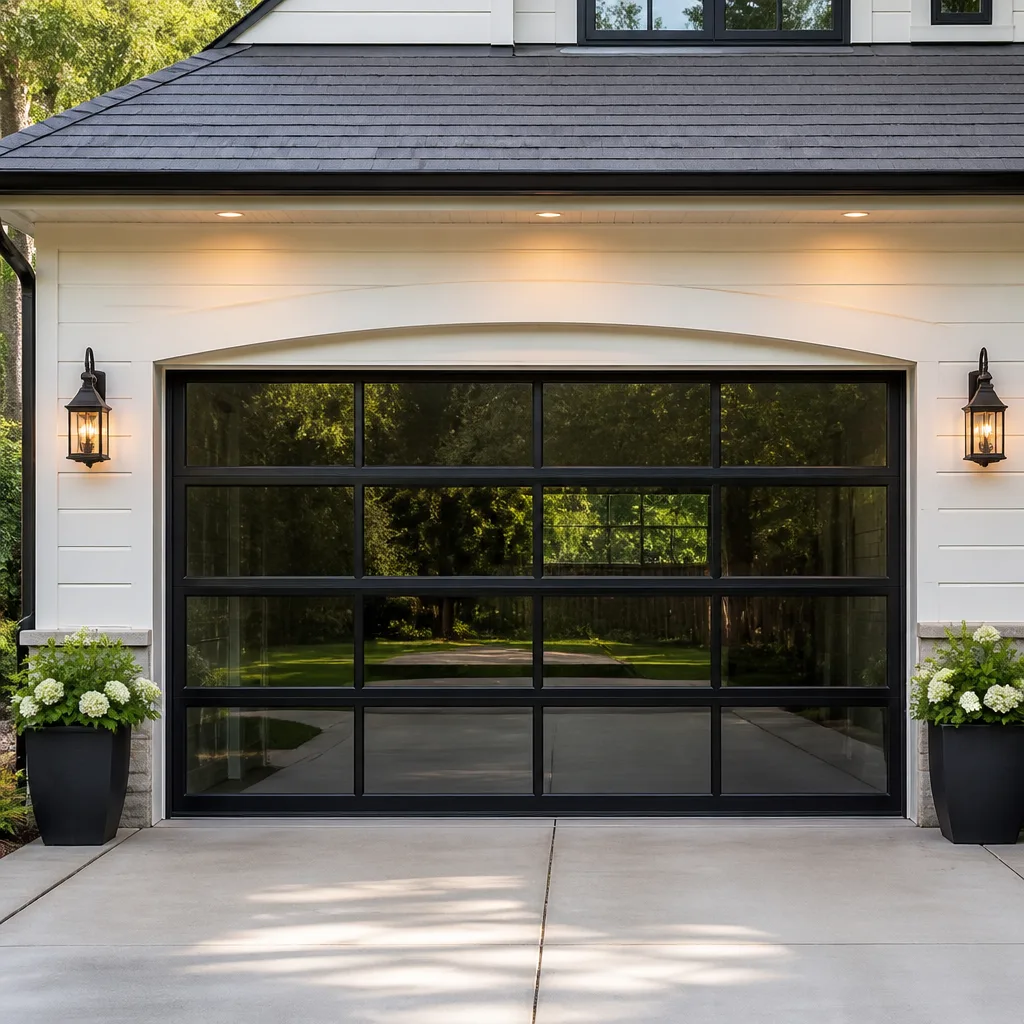 Full-view glass
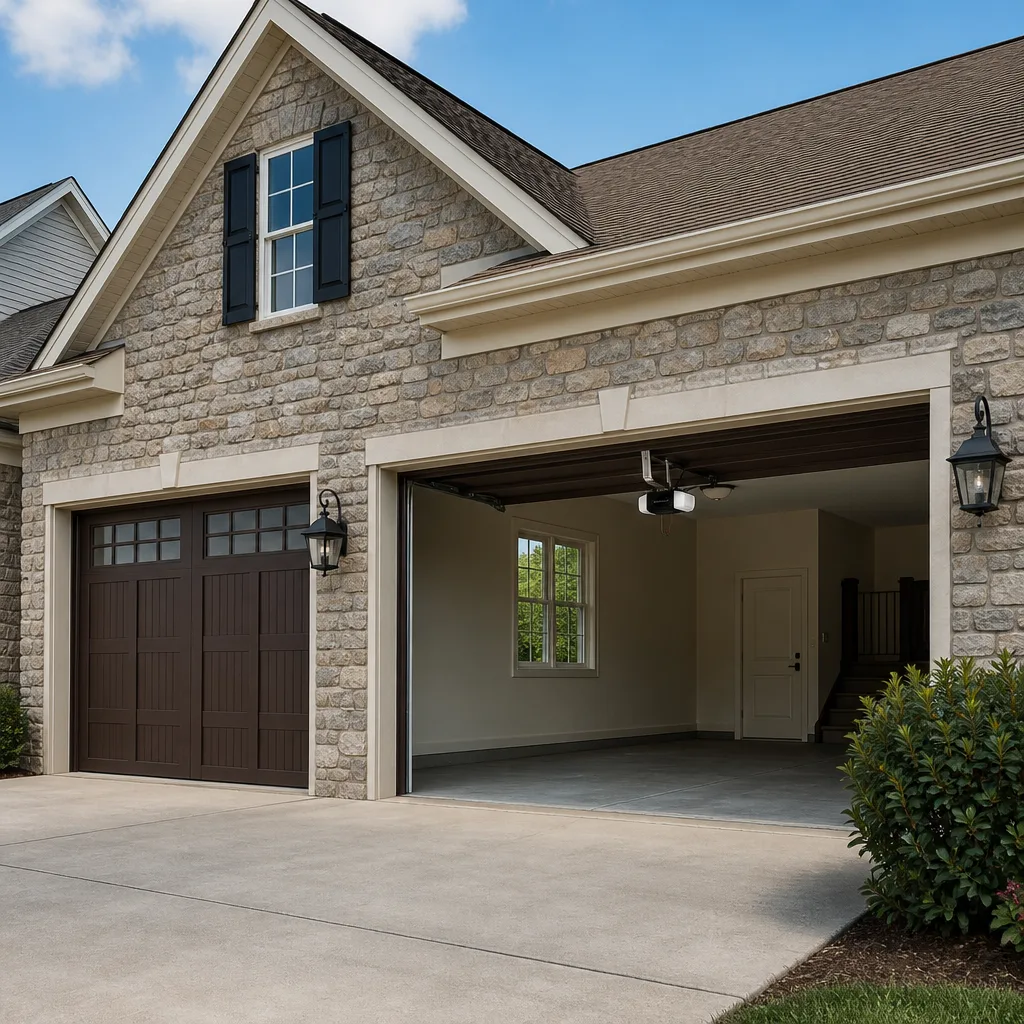 LiftMaster openers
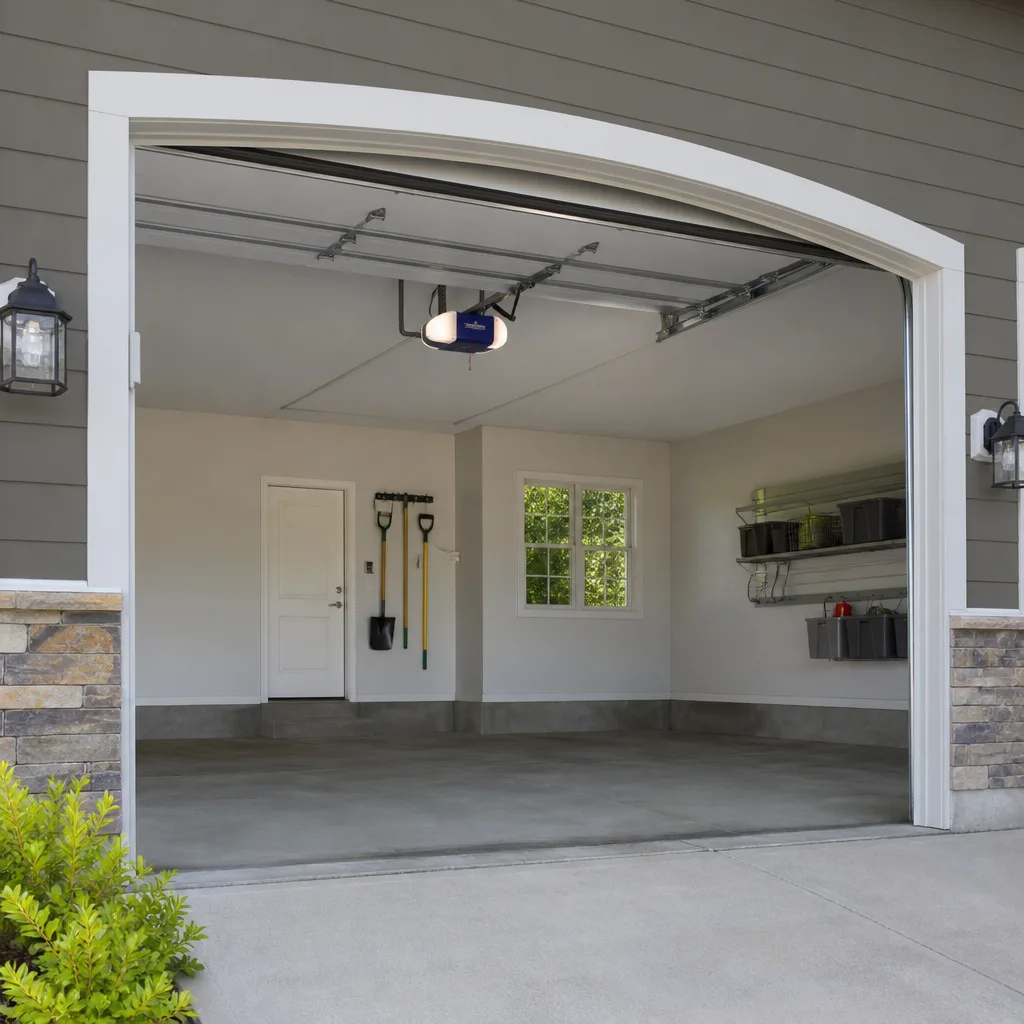 Chamberlain openers
Full 25-point door and opener safety check with every visit - springs, cables, rollers, tracks, and your LiftMaster or Chamberlain opener included
You get a price before we start. It does not change when the truck arrives.
Get your free estimateDIY vs Professional Garage Door: The Livermore Homeowner’s Decision Guide
Most homeowners who attempt their own garage door repair aren’t lacking skill. They’re lacking a framework for understanding which parts of the system are designed to be user-serviced and which parts store enough energy to shatter bone. A torsion spring under tension isn’t a stubborn bolt. It’s a manufactured device holding hundreds of pounds of force in a coil, and when it releases, it doesn’t care how carefully you watched the tutorial. This guide gives you a task-by-task decision map so you can confidently handle what’s safe, recognize what isn’t, and know exactly what a professional repair should look like when you need one in Livermore.
Quick Answer
Most garage door maintenance tasks – lubrication, sensor alignment, remote programming, weatherstrip replacement – are genuinely DIY-appropriate and take under an hour. Spring replacement, cable work, track realignment, and opener motor replacement involve stored mechanical energy, electrical wiring, or precision tolerances that make professional service the responsible choice. The dividing line isn’t skill; it’s whether the part you’re touching stores energy you can’t see.
Styles & brands we work with
- Raised-panel steel
- Carriage house
- Modern flush
- Full-view glass
- LiftMaster openers
- Chamberlain openers
Table of Contents
- The Physics Nobody Puts in the Video
- What’s Actually Safe to Do Yourself
- What Should Never Be DIY
- The Honest Tool Comparison
- What DIY Mistakes Actually Cost in Livermore
- How to Be an Informed Participant in a Pro Repair
- Warranty and Code Considerations
- Common Mistakes to Avoid
- When to Call a Professional
- Frequently Asked Questions
The Physics Nobody Puts in the Video
Before we get to specific tasks, we need to talk about what’s actually behind that metal panel above your garage door. Because the DIY-versus-professional decision for garage doors isn’t about confidence. It’s about stored kinetic energy and whether you can see it.
A torsion spring system works by twisting steel coils under tension. When your door goes up, that spring unwinds and releases energy. When the door goes down, the spring winds tighter, storing it again. A typical residential torsion spring for a double door might hold enough force to lift several hundred pounds. It does this every cycle, tens of thousands of times over its lifespan.
Here’s what that means in practical terms. If a winding bar slips while you’re adjusting a torsion spring under load, the bar becomes a projectile. It doesn’t just “snap back.” It releases all that stored energy in a fraction of a second. This is not a cautionary hypothetical. It’s what the manufacturer’s own documentation warns about, and it’s why professional garage door repair techs treat spring work with the same respect electricians treat live panels.
The cable system carries the same risk profile. Cables run under tension whenever the spring is wound. A frayed cable looks passive hanging there, but it’s holding weight at that moment. If it parts while you’re inspecting it, the spring releases and the door becomes an uncontrolled falling weight.
Compare that to what most people think of as “garage door problems.” A remote that won’t pair. A sensor that blinks. Hinges that squeak. These are mechanical or electrical issues with visible causes and obvious fixes. The energy in the system is not actively trying to hurt you.
So the entire decision framework comes down to one question: does the part I’m touching store energy I can’t see? If yes, it’s professional territory. If no, you can probably handle it with basic tools and a careful approach.
What’s Actually Safe to Do Yourself
Plenty of garage door maintenance is well within a homeowner’s capability. These tasks don’t require touching springs, cables, or electrical panels. They’re also the ones a professional would tell you to do yourself between service visits, because they prevent the bigger, more expensive failures that come from neglect.
1. Lubrication
This is the single most valuable piece of DIY maintenance, and it takes 15 minutes. Use a lithium-based or silicone-based lubricant (never WD-40 for this job; it’s a solvent, not a lubricant for metal-on-metal door systems). Hit the rollers, hinges, and the torsion spring itself. The spring needs a light coat along its entire coil length. You’re not trying to soak anything. A thin, even film that lets the metal move smoothly is the goal.
Do this every 6 to 12 months in Livermore’s climate. The dry summer heat accelerates evaporation of lubrication compounds, and a dry spring is a spring that wears unevenly. Uneven wear on a torsion spring means a shorter life and a more likely sudden break.
2. Photo Sensor Alignment
Those two small units near the bottom of the door track, one on each side, are safety sensors. They project an invisible beam across the door opening. If anything interrupts that beam while the door is closing, the opener reverses. If they fall out of alignment, the door may refuse to close, or close erratically.
Fixing this is a matter of checking that both sensors are at the same height, pointing directly at each other, and that their indicator lights are solid, not blinking. Often it’s a matter of dust on the lens, a leaf against the housing, or a small nudge from a car bumper that knocked one off-axis. Loosen the mounting wingnut, realign, tighten, test.
3. Remote and Keypad Programming
This is the task most people believe is complicated but actually isn’t. Every major brand (LiftMaster, Chamberlain, Genie, Craftsman, Raynor) publishes programming instructions on its website and in the opener manual. Most involve pressing a “Learn” or “Program” button on the motor unit, then pressing the remote button within 30 seconds. A keypad adds a PIN step.
The trick is finding the right instructions for your specific model. If you no longer have the manual, the model number is printed on the motor housing. We work on openers from all eight major brands regularly, and the programming steps differ from model to model more than people expect. But the instructions are out there, and the risk is zero.
4. Weatherstrip Replacement
The rubber strip along the bottom of the door and the rubber on the side jambs eventually dry out and crack, especially after several Livermore summers. Replacing it is a matter of pulling out the old material, cutting the new strip to length, and sliding it into the retaining groove. No springs, no cables, no electricity.
This keeps dust, leaves, and hot summer air out of the garage. It also reduces the chance of water intrusion during the occasional heavy rainstorm that runs through the Tri-Valley in winter months.
What Should Never Be DIY
This is where false confidence gets people hurt. These tasks involve stored mechanical energy, and no amount of careful video watching changes that reality.
1. Torsion Spring Replacement
A torsion spring is a steel coil mounted on a shaft above the door. It twists under load every time the door moves. Replacing one requires unwinding the old spring (if it hasn’t already broken), winding the new one to a specific torque count, and setting the cable tension precisely. This is done with long steel winding bars inserted into the spring cone.
If a bar slips while the spring is under partial load, it accelerates outward with enough force to go through drywall or break bone. The only people who should attempt this are people who have done it dozens of times under supervision and understand torque specifications, cycle-life ratings, and wire diameter math. Even then, it’s a two-person job with a clear safety protocol.
In our experience in Livermore, the most common injury scenario isn’t a homeowner attempting a full spring replacement. It’s a homeowner attempting to “just adjust” a spring that seems too loose or too tight, not understanding that the spring is under load at that exact moment. The adjustment look simple from outside. It is not.
2. Cable Replacement or Repair
The cables run from the bottom brackets on the door up to the drum on the shaft. They work with the springs. When the door is down, the cables are somewhat relaxed. When the door is up, they’re under tension. If a cable is frayed or has already snapped, the risk isn’t just the cable itself. It’s that the remaining spring tension is now off-balance, and something else is about to fail.
Replacing cables also requires releasing spring tension safely, re-setting the drum, and re-tensioning the entire system. This is spring work with extra steps.
3. Track Repair or Realignment
Door tracks guide the rollers on both sides. When a track is bent, the door may bind, come off the track, or fall if the track bends while the door is up. Tracks are adjustable, but the adjustment involves loosening heavy mounting brackets while the door weight is supported. If the door is in the wrong position when a bracket is loosened, the panel can shift suddenly.
Correctly re-hanging and re-aligning tracks requires checking level and plumb at multiple points while under load. It’s a precision job with safety implications that aren’t obvious to a first-timer.
4. Opener Motor Replacement
Replacing a failed opener motor involves working with household wiring at the outlet, mounting a heavy unit to the ceiling, setting force and travel limits, wiring the sensors, and programming remotes. It’s not high voltage, but it’s real electrical work, and the force limits matter. An opener with travel limits set incorrectly can crush a trash can or damage the door. An opener with force limits set too high can override the safety reverse system.
This is also an area where brand familiarity matters significantly. A Chamberlain opener’s force adjustment procedure differs from a Raynor’s, which differs from a LiftMaster’s. We work on all three regularly, plus Genie, Craftsman, Clopay-built systems, and others. The point isn’t that it’s impossible to learn. The point is that this isn’t the job to learn on, especially with electrical connections involved.
The Honest Tool Comparison
Here’s a real-world look at what professional service actually gets you, and what a one-time DIY attempt costs in tools and time.
| Job | DIY Tool Cost (Typical) | DIY Time (First-Timer) | Professional Brings |
|---|---|---|---|
| Lubrication | $10-$15 (lubricant only) | 15-20 minutes | Same product, same result. Do it yourself. |
| Sensor alignment | $0 | 10-15 minutes | Included in a service call if you’re already calling for something else. Not a standalone reason to call. |
| Remote programming | $0 | 20-30 minutes | Included with opener installation or repair. Standalone programming help is a quick phone call for most brands we service. |
| Weatherstrip replacement | $15-$30 (material) | 45-60 minutes | Material plus necessary cuts and fitment. Straightforward DIY for most. |
| Spring replacement (single) | $60-$120 for winding bars, new spring, hardware | 3-5 hours plus high injury risk | Torsion spring-specific tools, multiple spring types in inventory, torque count experience, safety protocol |
| Cable replacement | $30-$60 for cables, plus spring tools | 2-3 hours plus spring-work risk | Correct cable length, drum reset procedure, system-wide tension check |
| Opener motor replacement | $130-$300 for opener unit, wiring supplies | 4-6 hours | Factory familiarity across LiftMaster, Chamberlain, Genie, Craftsman, and Raynor, plus correct force/travel setting procedure |
The pattern here is clear. The tools for safe DIY tasks cost under $30 total and you probably already own most of them. The tools for the dangerous tasks cost more than the service call, and you’ll use them once. A winding bar set alone runs $30-$50, and that’s for the bars only. You still need the correct spring, the correct wire diameter, the correct inside diameter, and the right number of turns for your door’s weight.
What a professional brings that no tool list captures is repetition. A technician who replaces opener motors weekly has already seen every wiring configuration, every mounting challenge, and every model-specific quirk. That’s why we treat opener repair as its own specialty rather than a footnote. When a Raynor opener behaves differently from a LiftMaster during force-limit setup, that’s not in the manual. It’s learned by doing it repeatedly.
What DIY Mistakes Actually Cost in Livermore
The true cost of a DIY attempt that goes wrong isn’t just the emergency service call. It’s the compounding damage.
Here’s the most common sequence we see. A homeowner in Livermore attempts a spring adjustment. The bar slips or the spring binds. The door goes off-level, which bends a track. The bent track stress-fractures a roller, which then breaks. Now the original $350 spring job is a track replacement, a roller replacement, and a spring job. The door may be stuck halfway open, which means the garage is unsecurable until help arrives.
Another common pattern is the opener that won’t close all the way. The homeowner assumes it’s a sensor issue and starts adjusting. But the force setting is actually too low because the springs are losing tension. The opener is compensating for a spring problem. By the time a professional looks at it, the opener has been run out of spec for months, shortening its life. A simple spring replacement that should have happened in April becomes an opener replacement in September.
Warranty adds another layer. Most door and opener manufacturers require professional installation for the warranty to remain valid. Do the work yourself and the manufacturer has a clear reason to deny a claim if a component fails later. That voided warranty doesn’t just affect the one part. On some doors, it affects the panel and hardware warranty too.
None of this is unique to Livermore’s housing stock, but the home mix here matters. Many homes in the area were built between the 1960s and 1990s, which means original doors that are now 30 to 60 years old. Older doors have tighter tolerances and more accumulated wear. A particular neighborhood’s older ranch homes often have different track profiles than the newer developments in the north end of town. A professional who works across all of Livermore has seen both and knows what to look for before touching the system.
None of this is meant to discourage you from maintaining your own door. It’s meant to help you choose correctly. The right DIY task saves you a few dollars. The wrong DIY task costs you a few hundred and a day of stress.
How to Be an Informed Participant in a Pro Repair
You don’t have to do the work to be in control of it. Here’s how to make sure you get a good repair, whether you call us or someone else in Livermore.
1. Ask about the spring pair
Torsion springs are rated for a certain number of cycles. If one breaks, the other is almost certainly near the end of its life too, because they’ve both cycled the same number of times. A responsible professional will recommend replacing both springs as a matched pair. If a quote includes only one spring, ask why. The answer usually says more about the professional than the spring.
2. Ask about the written estimate
The price you agree to before work starts should be the price on the invoice when the job is done. We quote upfront and set the price by the written estimate. If a company won’t give you a written number before starting, that’s a signal to keep looking.
3. Ask which brand you have
You may not know what’s in your garage. That’s fine. But a professional should be able to look at the door and opener and tell you. “LiftMaster opener, Clopay steel door, torsion spring system” should roll off a specialist’s tongue. If you get a blank look when you ask, you’re talking to someone who doesn’t work on garage doors every day.
This matters more than people think. A Chamberlain opener’s travel limit adjustment is not the same as a Genie’s. A Raynor door’s track profile is not the same as an Amarr’s. Brand-agnostic does not mean brand-ignorant. It means the opposite: enough brand fluency across the major lines that any door is inside the comfort zone.
4. Watch without hovering
You’ll learn more about whether the work is being done correctly by observing the process than by asking a question every 90 seconds. Does the technician check both springs, or just the broken one? Does the job include a full-cycle test after completion? Does the technician clean up hardware and explain what was done? These behaviors signal thoroughness far more than anything they say.
Warranty and Code Considerations
Two more questions that rarely make it into DIY decision guides but matter in Livermore specifically.
First, permits. Most cities require a permit for a full door replacement, and some require one for structural modifications to the garage opening. Livermore’s building department can confirm whether your specific project needs a permit. For repair work (spring replacement, opener repair, cable replacement), a permit is generally not required, since you’re servicing an existing door rather than altering the structure. But if you’re replacing the entire door and frame, call the city and ask. Don’t take a contractor’s word for it; verify directly with the building department.
Second, warranty registration. When a professional installs a new door or opener, the warranty card should be filled out and submitted. This ties the serial number to your address and start date. If you do a DIY install and the manual says “professional installation required for warranty coverage,” keep the receipt for the unit and the manual. But understand that the final decision on a warranty claim rests with the manufacturer, and manufacturers are not forgiving about self-installation errors.
For garage door opener repair, the warranty picture is different. Opener motor units from Chamberlain and LiftMaster typically carry 5-year to lifetime warranties depending on the model, but only if the unit was registered. Many homeowners never register their opener, and then the motor fails 4 years in, and they discover the warranty requires registration within a certain window. Check your current opener’s paperwork. If you can’t find it, the model and serial are on the motor housing, and a quick call to the manufacturer tells you whether the unit is still under coverage.
For spring warranties, most professional-installed springs carry a labor warranty from the installing company as well as a cycle-life rating from the spring manufacturer. A 10,000-cycle spring, properly installed and lubricated, should last several years in typical residential use. A 25,000-cycle spring lasts proportionally longer. When you get a spring replacement, ask what cycle rating the new springs carry. It’s a concrete specification, and it tells you whether the installer is putting in entry-level parts or what a door that opens 4 times a day actually needs.
Common Mistakes to Avoid
- Skipping the door balance test. Disconnect the opener (usually a pull cord) and manually lift the door. If it’s balanced, it should stay open at the halfway point on its own. If it falls or the spring feels loose, the spring tension is wrong. A door that’s out of balance is worth a professional look, not a YouTube tutorial.
- Using the wrong lubricant. WD-40 is not a door lubricant. It’ll free a rusted roller temporarily, then dry out completely and leave the metal unprotected. Use lithium or silicone spray, and hit the spring coils while you’re at it.
- Assuming a broken opener means a bad motor. Many “dead” openers are fine. The problem is a stripped gear (common on Chamberlain and Craftsman chain-drive models), a misaligned safety sensor, or a failing capacitor. Replacing the opener when the real issue is a $30 gear is an expensive mistake.
- Ignoring grinding or squealing until it stops. A door that suddenly goes quiet after months of noise didn’t heal. Something broke. By the time it’s quiet, the damage is done and the repair is bigger.
- Trying to re-thread a cable by hand. If a cable comes off the drum, the spring is no longer holding the door balanced. What looks like a simple re-threading job is actually a spring re-tensioning job. Do notattempt this without releasing spring tension correctly.
- Replacing one panel on a 20-year-old door without checking the springs. The new panel is lighter than the old wood panels, which changes the door’s weight. The old springs may no longer be correct. A full door weight check before any panel replacement is the difference between a door that runs for years and one that destroys its opener in 6 months.
When to Call a Professional
If you’ve read this far, you already know the answer. Call a professional when the broken part stores mechanical energy (springs, cables), when the job involves electrical work (opener motor replacement), or when precision adjustments under load are required (track realignment, drum reset). No amount of research makes these jobs safe for a first-timer, and the cost of a mistake is far higher than the quote you’re avoiding.
Call a professional when you’re not sure what’s actually wrong. “The door makes a grinding noise and won’t close all the way” has at least four different root causes. A professional diagnosis takes 30 minutes and gives you a written estimate, so you’ll know exactly what you’re dealing with before you commit. Garage Door Repair Livermore offers free estimates in Livermore – call (833) 593-6272.
Frequently Asked Questions
In the short term, yes. A single torsion spring costs $40 to $80 at a hardware store, and winding bars cost $30 to $50. Add in the correct tools and you might spend $120 total, compared to a professional replacement that typically runs $250 to $400 per spring for the part and labor. But that math only works if the job goes perfectly. If a winding bar slips, the cost of the emergency room visit or the dented car or the broken track makes the savings vanish. The honest answer is that DIY spring replacement is cheaper only if you don’t count the risk.
Lubrication, photo sensor alignment, remote programming, and weatherstrip replacement are all safe DIY tasks that take under an hour. Anything involving springs, cables, or opener motor wiring belongs with a professional. The dividing line is whether the part stores mechanical energy you can’t see. If it does, call someone who does this daily.
If your torsion spring is broken, you’ll see a gap in the coil, usually about 2 to 4 inches, near the center or one end. The door will be very heavy to lift manually. If the spring is intact but the door is out of balance (falls when opened halfway), the spring is fatigued and will break soon. Neither situation is safe to adjust on your own. Call for a professional inspection. One of our techs can be at your Livermore home fast, with dispatch from 7am to 7pm, Sunday through Friday.
No. Professional installation and repair keeps your manufacturer warranty intact. If you attempt a DIY repair and something fails later, the manufacturer can deny the warranty claim because the unit wasn’t serviced by a qualified technician. Some manufacturers explicitly require professional installation for the warranty to be valid at all.
Most spring replacements take 45 to 90 minutes once the technician arrives. Opener motor replacements run 2 to 3 hours. Cable repairs are typically 60 to 90 minutes. Your specific job depends on the door’s size, age, and what else is found during inspection, but the written estimate sets the price before work starts, and we quote upfront every time.
Full door and frame replacements sometimes require a building permit, depending on the scope and your specific property. Repairs like spring replacement, opener repair, and cable replacement generally do not. The city’s building department can confirm what’s needed for your project. Don’t rely on a contractor’s word; verify directly with the city.
A single torsion spring replacement typically runs $250 to $400 including the part and labor. A matched pair runs $400 to $700 because you’re replacing both at once, and that’s almost always the right call. The exact number depends on the spring’s size, wire diameter, and cycle rating. Call (833) 593-6272 for a free estimate – we answer 24/7.
Same-day service is available for most repairs. We answer 24/7, and fast dispatch runs from 7am to 7pm, Sunday through Friday. A call outside dispatch hours is booked into the next opening. Call (833) 593-6272 and we’ll get someone out to your Livermore home.
The Bottom Line
The DIY-versus-professional decision for garage doors is simpler than people make it. If the part you’re touching stores mechanical energy – springs, cables, anything under tension – it’s not a learning project. The risk is too high and the cost of a mistake is too punitive. If the part is a lubricant point, a sensor alignment, or a remote programming sequence, you’re not going to hurt yourself or the door. Do it yourself, and spend the money you save on a professional inspection once a year.
In Livermore specifically, the dry heat and the age of our housing stock mean lubrication and balance checks matter more than in coastal climates. A balanced door with properly lubricated springs lasts longer and runs quieter. That’s true in any town, but it’s especially true here, where 100-degree summer days and 40-degree winter nights put the metal through a wider swing than people expect.
When you do need a pro, you want someone who knows your exact brand without having to look at the manual. That’s what we do. LiftMaster, Chamberlain, Genie, Clopay, Amarr, Wayne Dalton, Craftsman, Raynor – the logo doesn’t change how we work, because we work on all of them. Call (833) 593-6272 for a free estimate. We answer 24/7. Fast dispatch from 7am to 7pm, Sunday through Friday.
Written by the team at Garage Door Repair Livermore, serving Livermore since 2012.
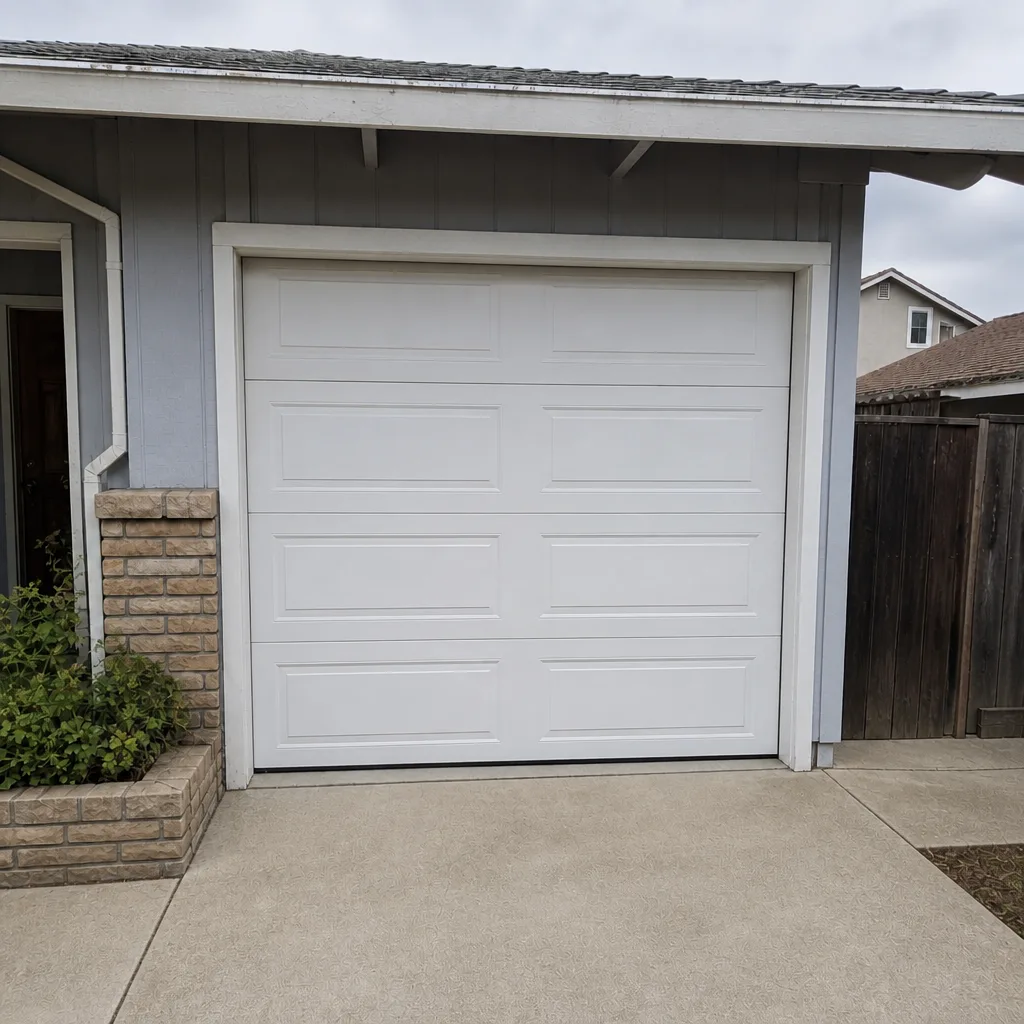
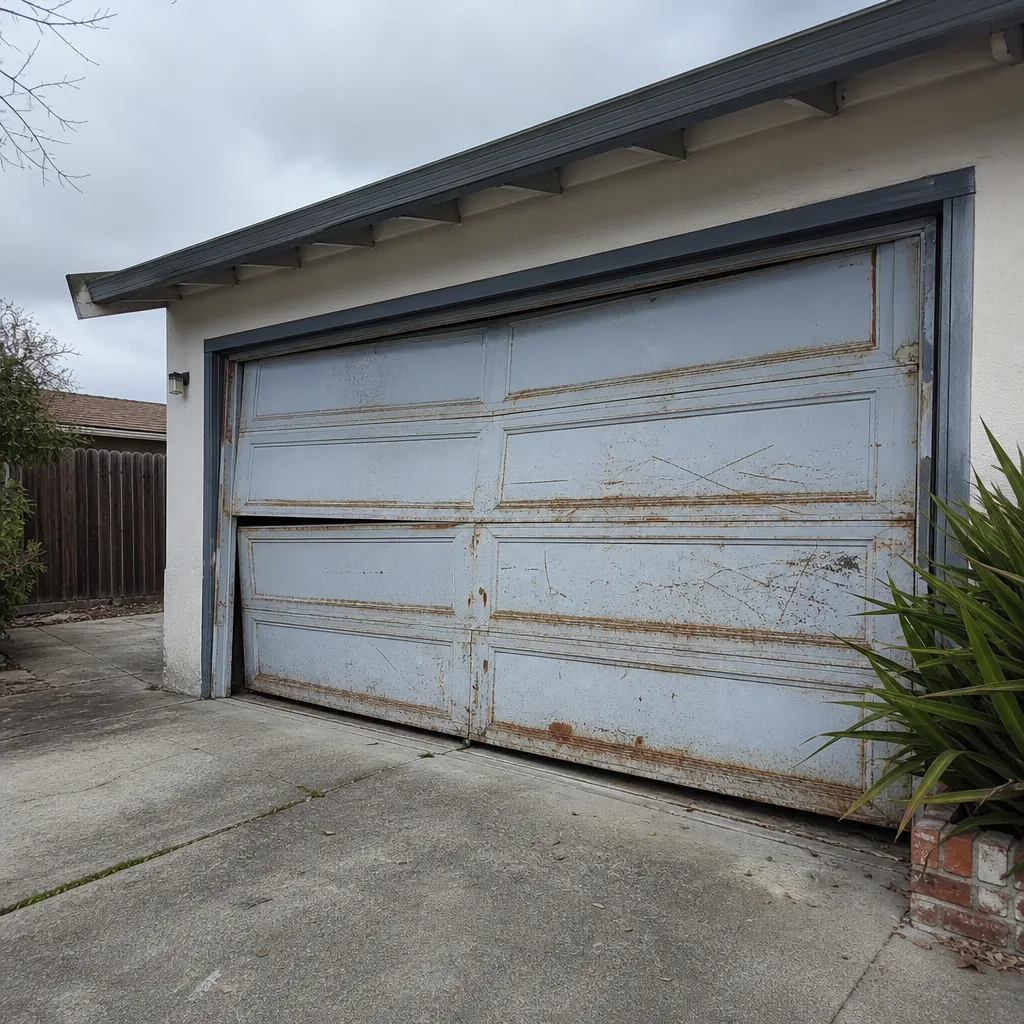
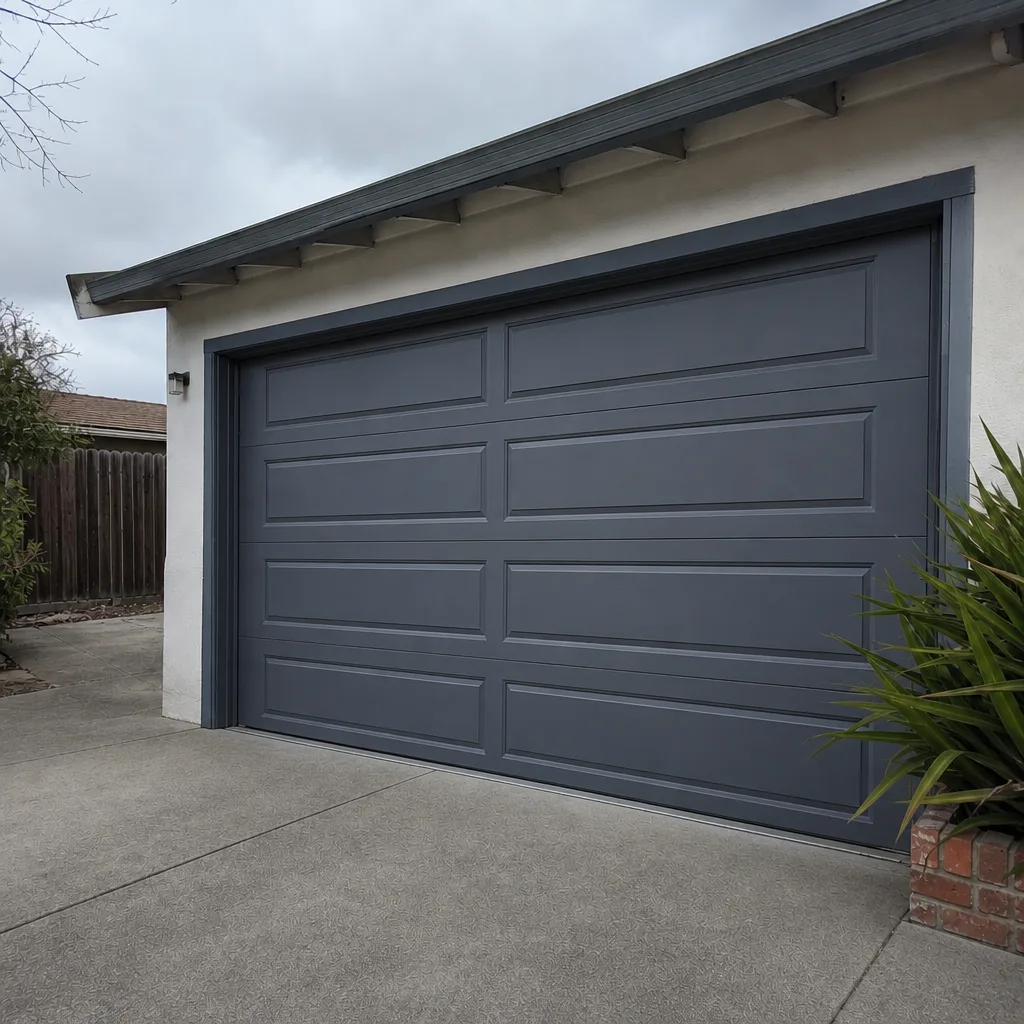
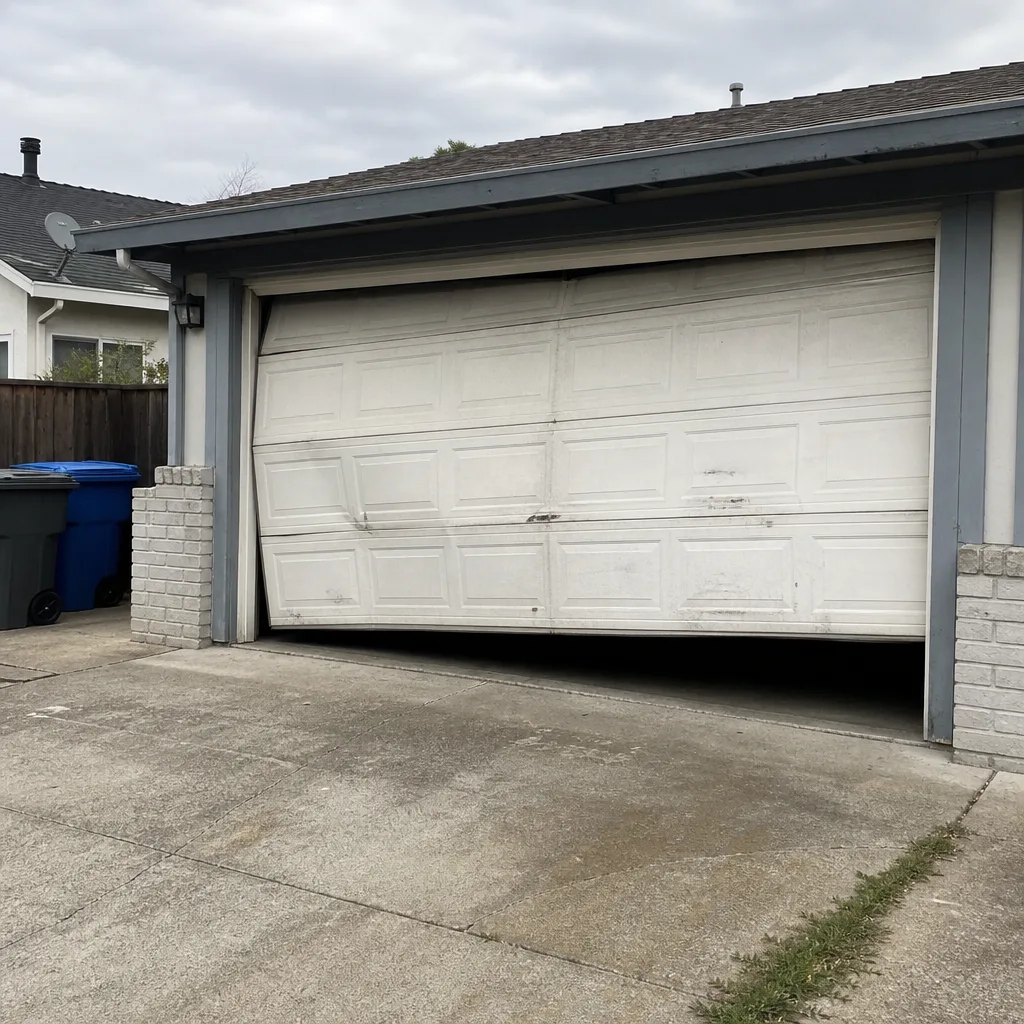
See the difference
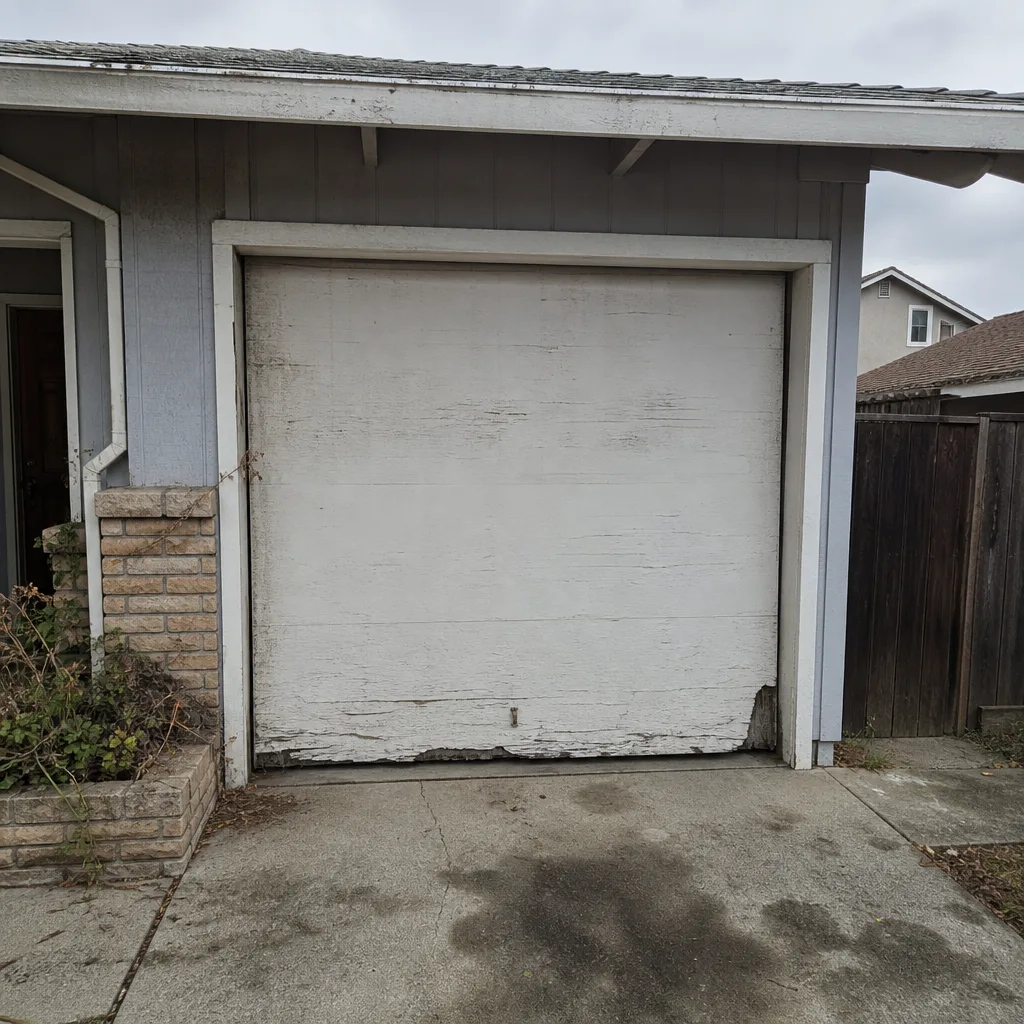 Before
 After
 Before
 After
 Before
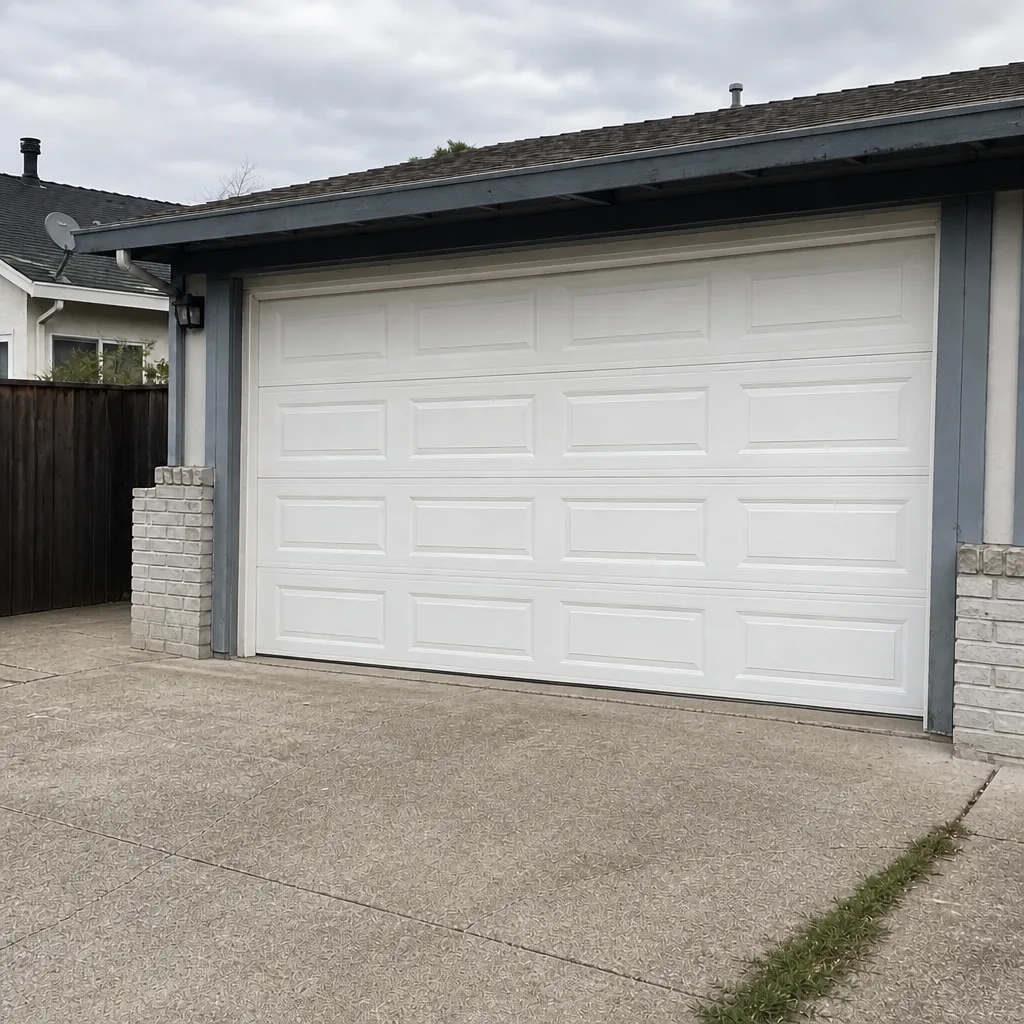 After