
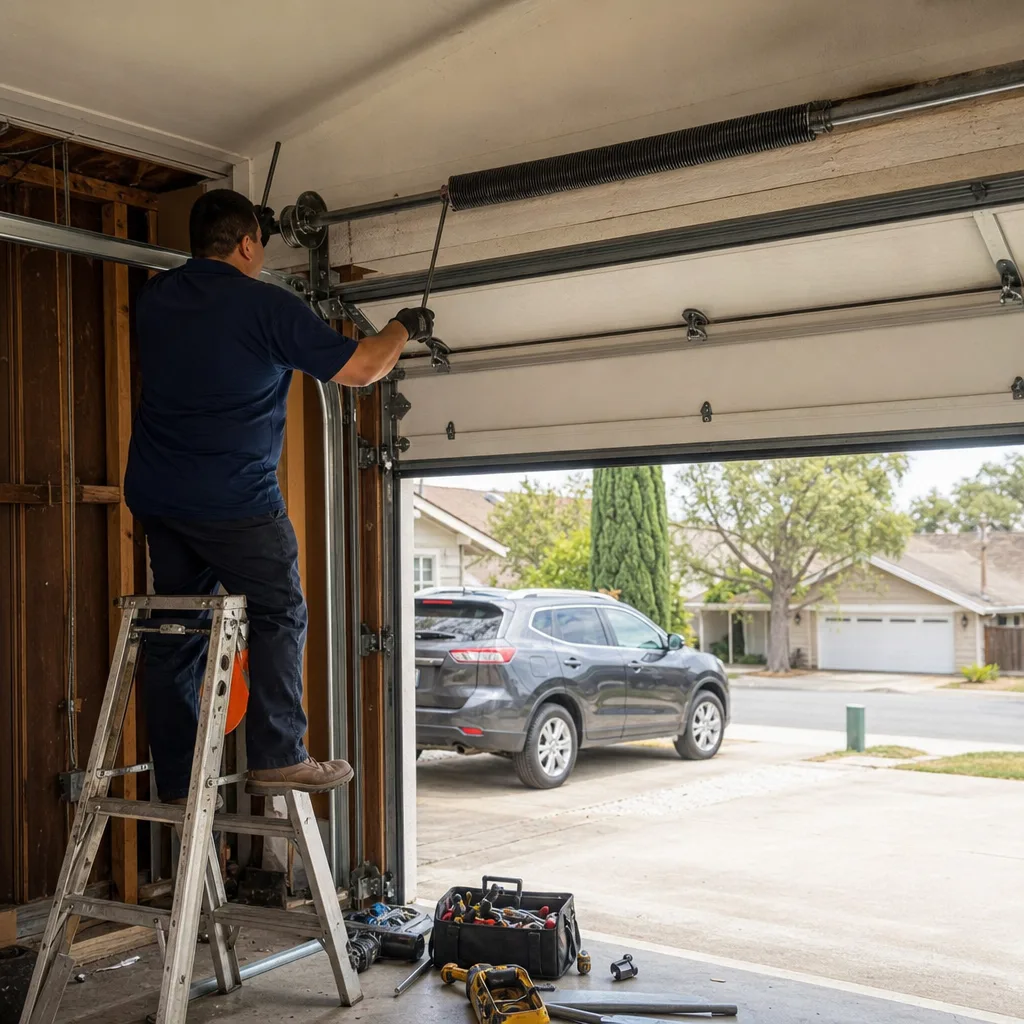
Last updated November 4, 2026
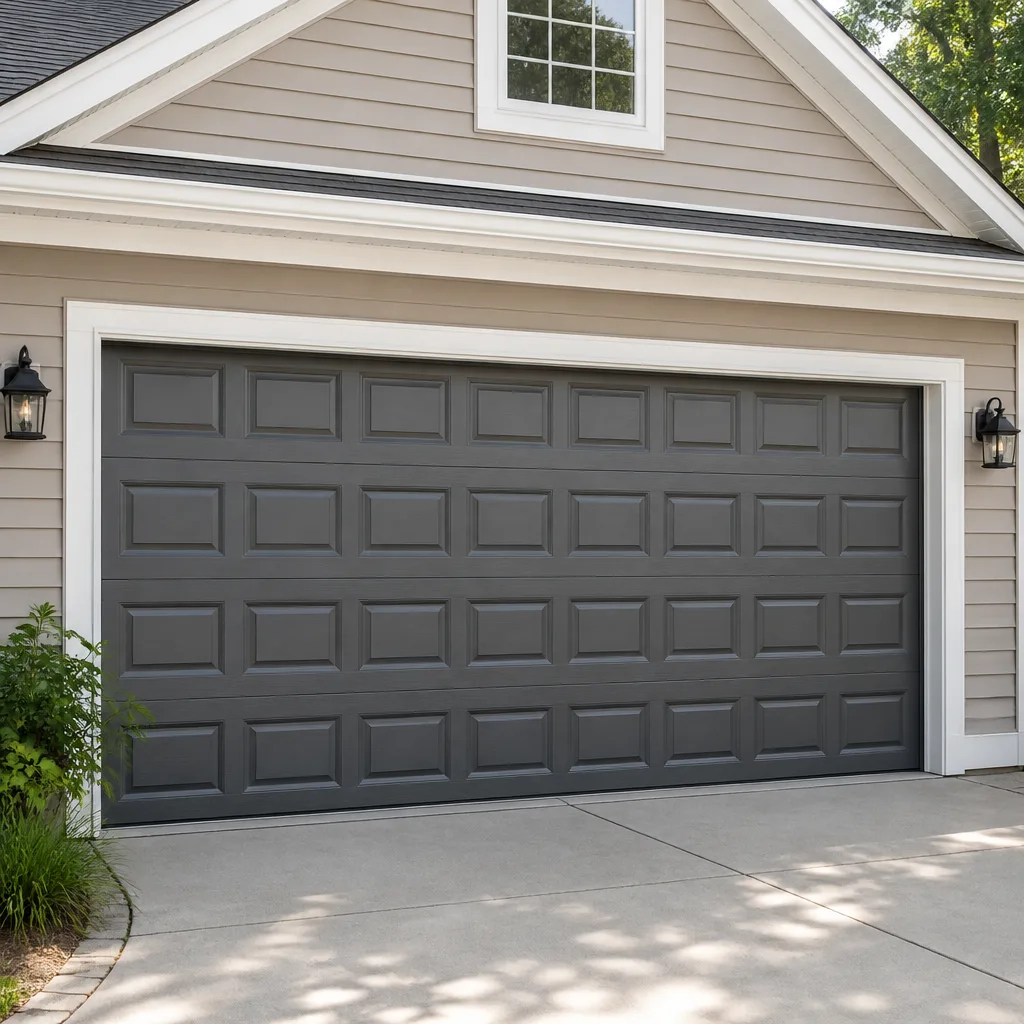 Raised-panel steel
 Carriage house
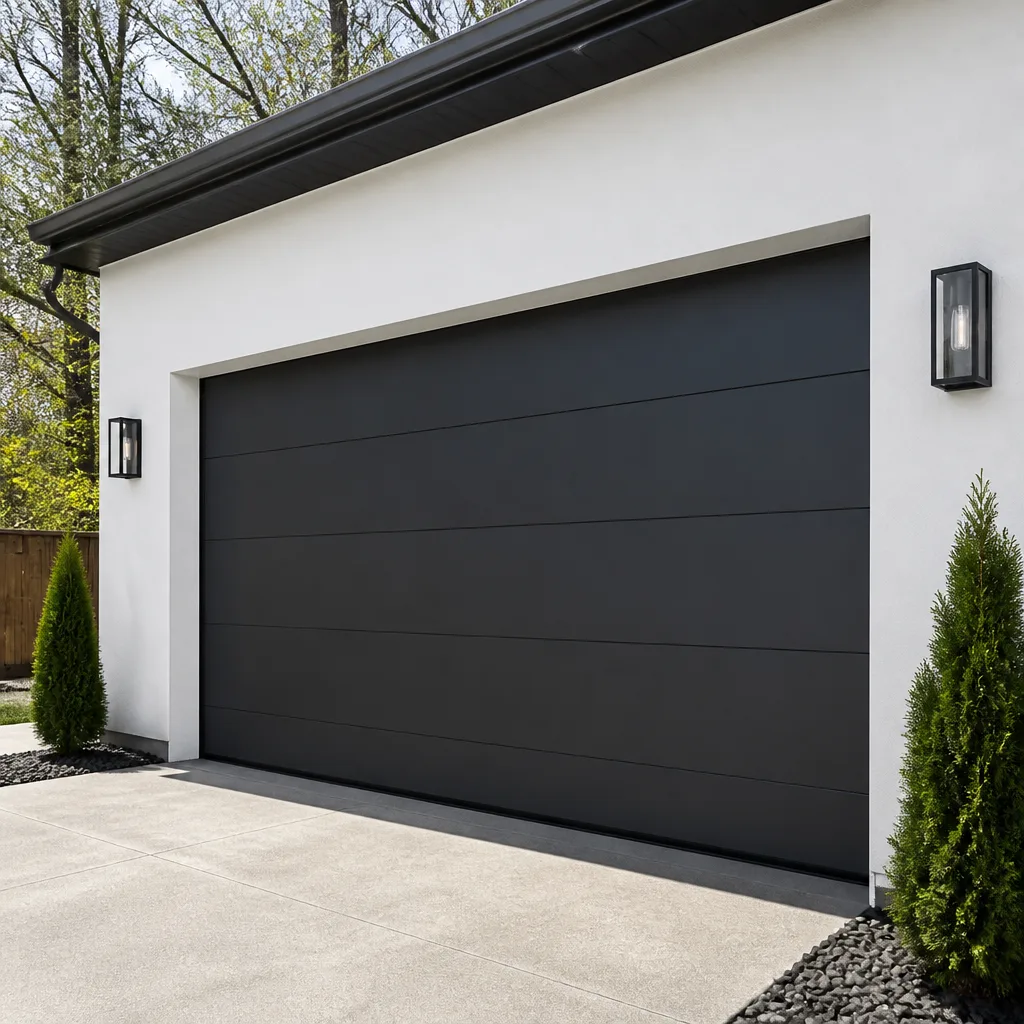 Modern flush
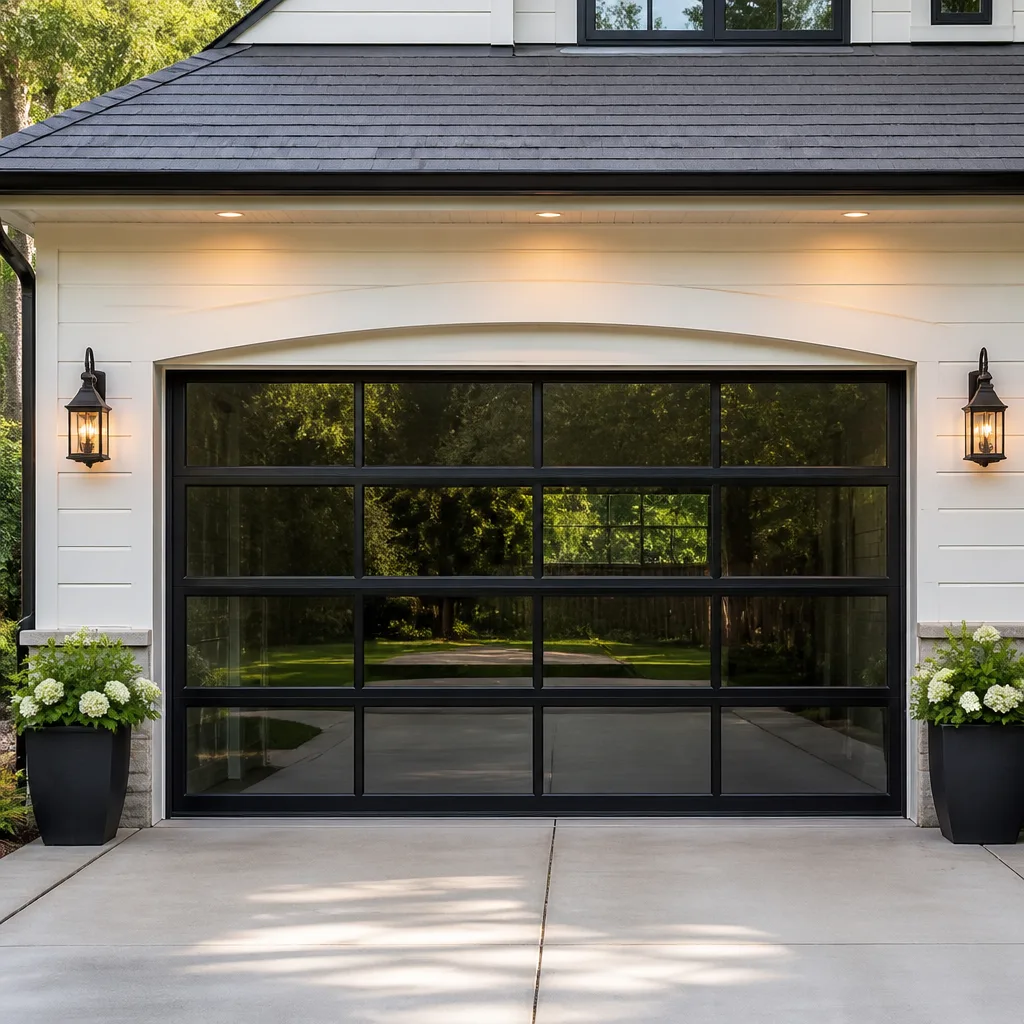 Full-view glass
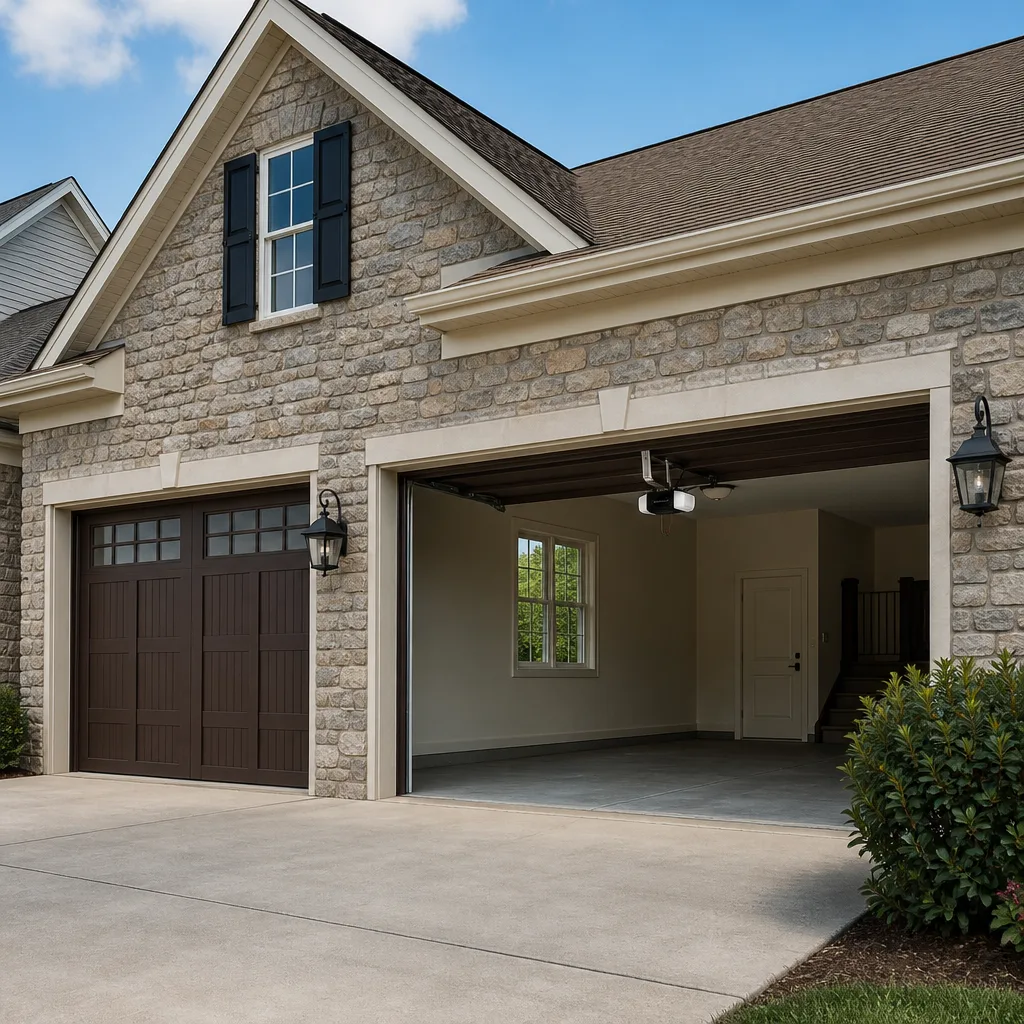 LiftMaster openers
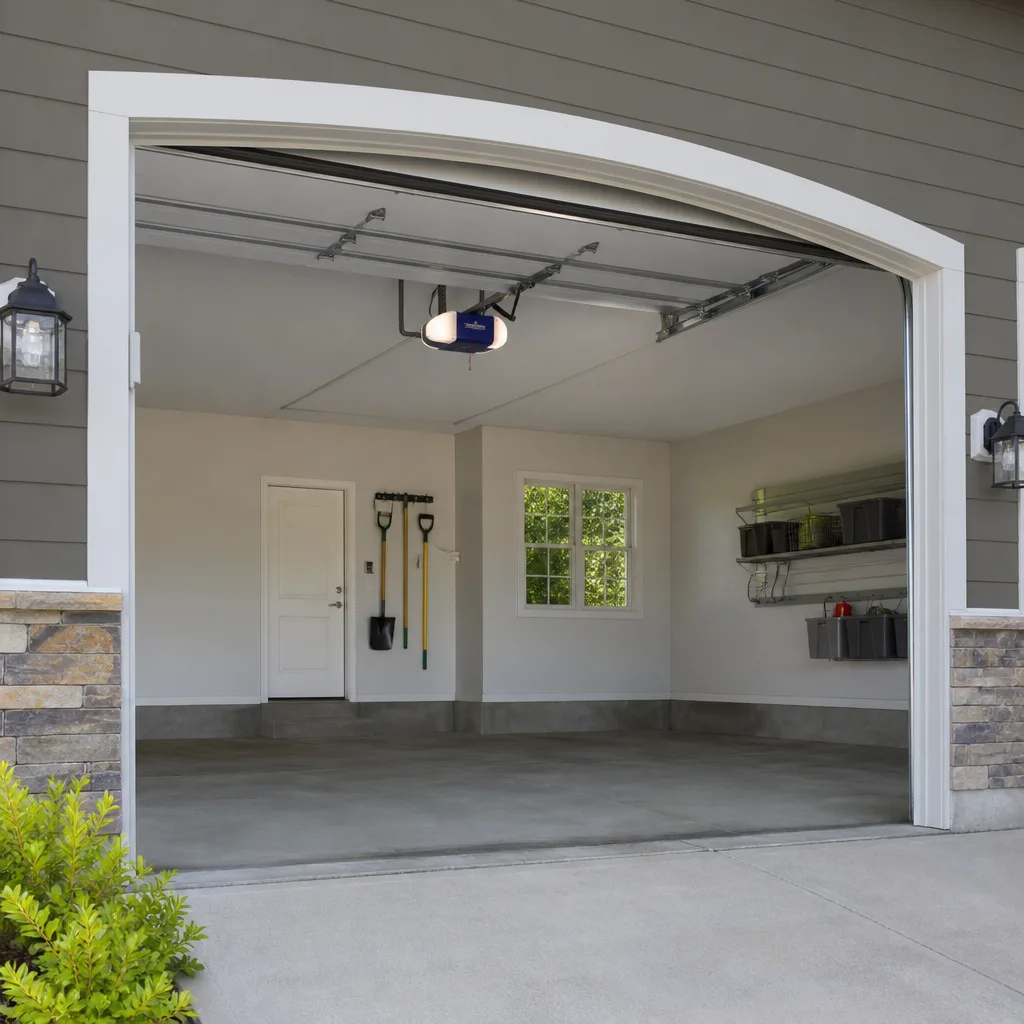 Chamberlain openers
Full 25-point door and opener safety check with every visit - springs, cables, rollers, tracks, and your LiftMaster or Chamberlain opener included
You get a price before we start. It does not change when the truck arrives.
Get your free estimateGarage Door Repair Maintenance Checklist for Livermore Homeowners
Here’s something most Livermore homeowners don’t expect: plenty of the garage door repairs we roll out for were caused by well-intentioned maintenance, not neglect. The single biggest avoidable problem isn’t a homeowner who ignored their door for years. It’s a homeowner who sprayed WD-40 on the rollers, wiped off the black factory grease from the rail, then called us a few months later wondering why the door suddenly sounds like a garbage disposal. Livermore’s dry heat and dramatic overnight temperature swings punish a door that’s been “maintained” with the wrong product faster than one that was left alone. This checklist is built around what actually fails on doors here, in the order it fails. It separates the three or four tasks worth doing yourself from the ones where a single wrong move puts you near stored spring tension that can break a hand.
Styles & brands we work with
- Raised-panel steel
- Carriage house
- Modern flush
- Full-view glass
- LiftMaster openers
- Chamberlain openers
Quick Answer
A solid garage door maintenance checklist for Livermore homeowners comes down to five moves: inspect cables, rollers, and hardware monthly for visible wear; lubricate only the hinges, rollers (nylon only), and bearing plates with a garage-door-specific product twice a year; test the auto-reverse and photo-eye sensors every month; tighten loose bolts on the track and hardware each season; and keep tension-loaded parts – springs and cables – hands-off unless you’re a trained professional. Spring, cable, and opener motor work should always trigger a call to a garage door repair specialist rather than a do-it-yourself attempt.
Table of Contents
- Why Generic Lubrication Advice Fails in Livermore
- The Monthly 90-Second Visual Inspection That Catches Most Problems
- What to Lubricate (and What to Leave Alone)
- How to Test Auto-Reverse and Photo-Eye Sensors Correctly
- Seasonal Maintenance Checklist for Livermore’s Climate
- DIY-Safe Tasks vs. Jobs That Involve Stored Spring Tension
- Brand-Specific Considerations for Amarr, Wayne Dalton, Craftsman, and Raynor
Why Generic Lubrication Advice Fails in Livermore
Most online maintenance guides read like they were written by someone who has never opened a garage door panel. “Lubricate all moving parts” is the usual instruction, and it’s exactly the kind of vague advice that sends a Livermore homeowner to the hardware store for a can of WD-40, which then gets sprayed onto nylon rollers, hinges, and sometimes even the torsion springs themselves. WD-40 is a solvent and water displacer, not a lubricant. It strips whatever thin film of grease was there and leaves metal parts drier than they started. A roller that was quietly doing its job turns into a squealing, chattering mess, and that newly created noise is what gets us a phone call.
What makes this worse in Livermore specifically is the temperature range. Summer days regularly cross into the high 90s, then drop forty degrees after sundown. Those swings make cheap aerosol lubricants evaporate or turn gummy faster than they would in a mild coastal climate. What you use matters here more than how often you use it. We recommend a white lithium grease or a garage-door-specific spray that’s designed to hold up through heat cycles without breaking down into a sticky residue. The goal is a thin, stable film on metal pivot points, never a soaking wet roller that drips onto the track and attracts dust. Livermore’s dry summers mean dust, and dust plus heavy lubricant equals a grinding paste that eats nylon wheels.
One more local factor many guides skip: Livermore homes sit in a valley that traps warm air, and attached garages regularly become the hottest room in the house by mid-afternoon. Any lubricant you choose has to survive a door that soaks in 100+ degree garage air for hours. That’s another reason we steer people away from general-purpose household oils and toward products engineered for garage doors specifically, including on older Amarr and Wayne Dalton systems where the original factory grease has long since aged out.
The Monthly 90-Second Visual Inspection That Catches Most Problems
If you do one thing from this entire guide, do this. It takes about ninety seconds, requires no tools, and catches the vast majority of problems that eventually strand a car inside or leave a door hanging half-open overnight. The trick is knowing where to look and what “wrong” looks like. Here’s the inspection we run mentally on every service call, and it’s simple enough for any Livermore homeowner to copy.
- Stand inside the garage, door closed, and look at the torsion springs above the door. You’re looking for any visible gap in the coil, which signals a broken spring. A clean, even coil means the spring is intact. A separation – sometimes half an inch, sometimes two – means the spring has snapped and the door is dangerous to move by hand.
- Trace each lift cable from the bottom of the door up to the drum. The cable should sit fully inside the groove. If it’s frayed, shiny in one spot, or starting to unwind, it’s failing. Do not touch a cable that shows visible damage. Cables carry the same spring tension as the springs themselves.
- Look at the rollers as they sit inside the track. Nylon rollers should look round and clean. Metal rollers should show no flat spots. A roller that wobbles or sits at an angle is wearing out and dumping friction into the rest of the system.
- Scan the track itself for gaps or bends. The vertical and horizontal tracks should be parallel and evenly spaced. A gap wider than the thickness of a penny between the track and the wall, or a track that’s visibly pulling away, means the structure is shifting.
- Listen to the opener run for three full cycles. A healthy door is quiet enough to talk over. Any new grinding, rattling, or rhythmic thumping that wasn’t there last month is the door telling you something is wearing. Don’t ignore it and hope it settles down.
That’s it. You’re not adjusting anything, removing anything, or tensioning anything. You’re looking and listening. If the inspection turns up anything suspicious, the next step is a professional assessment, not a YouTube tutorial. We’ve walked into too many Livermore garages where a homeowner noticed a frayed cable, decided to “help” by loosening a bolt, and turned a $200 repair into a full cable and drum replacement.
What to Lubricate (and What to Leave Alone)
Here’s the section that solves the problem we opened with. There are exactly four things on a residential garage door that benefit from homeowner-applied lubricant, and a much longer list of things that don’t. Learn this list and you’ll never be the person who sprays an entire can of penetrant into a torsion spring because a neighbor said it would help.
Lubricate these:
- Hinges. The metal pivot points where each door section swings. Two drops or a short spray of white lithium grease on each hinge pin, twice a year.
- Nylon rollers. The wheel part only, never the stem. Nylon rollers have sealed bearings or a bearing sleeve that takes a light touch of spray grease. Metal rollers with exposed bearings get the same treatment more often, since Livermore dust works its way into open bearings quickly.
- Bearing plates. The stationary bearing mounts at the ends of the torsion tube, both sides. A small amount of grease on the bearing keeps the tube rotating smoothly.
- Opener rail (screw-drive models only). If your opener has a visible threaded screw along the rail, it needs opener-specific grease occasionally. Belt- and chain-drive rails should stay dry – the belt and chain never get lubricant.
Leave these alone:
- Torsion and extension springs. Springs don’t need lubrication from you. Spraying anything into the coil encourages dirt to pack in and accelerates wear. Skip them entirely.
- Chain drives. The chain is pre-lubricated at the factory and mostly sealed. Lubricant collects grime and shortens life.
- Belt drives. Nothing you spray on a rubber belt improves it. Most manuals specifically say to keep them dry.
- Weatherstripping. It gets a silicone protector if anything, never petroleum-based lubricant, which degrades rubber.
- Tracks. The track is not a lubrication surface. Rollers ride inside it without needing a film of grease. Oiling the track is one of the most common maintenance myths, and it only makes a mess.
Two lubrication sessions per year, roughly six months apart, is the right cadence for Livermore. Many people do it in spring and fall. The truth is the timing matters less than consistency. What matters more is using a product meant for this job. A garage-door-specific spray or white lithium grease applied lightly beats a soaking of household oil every time.
How to Test Auto-Reverse and Photo-Eye Sensors Correctly
Every garage door opener sold in the United States since the early 1990s has two independent safety systems: the photo-eye sensors near the bottom of the door that detect anything in the door’s path, and the auto-reverse mechanism that stops and reverses the door when it encounters resistance. Testing both monthly takes under two minutes and should be non-negotiable in any household with kids or pets. Here’s the correct procedure, which most homeowners get half-right.
- Start with the door closed. This is the position that lets you test photo-eye function cleanly.
- Lay a piece of cardboard or a 2×4 laid flat in the center of the door’s path, about a foot inside the garage on the floor.
- Press the wall button or remote to open the door. The door should reverse as soon as it contacts the object, before fully closing back against it. It should also stop closing the moment the photo eyes detect the obstruction, which usually means an immediate reversal.
- Walk to the photo eyes at each side of the door, near the floor. Look for a small LED light on each. A solid light means aligned and working. A blinking light or no light means misalignment or a wiring problem.
- While the door is closing, intentionally break the beam with your hand or a broom handle. It should reverse immediately. If it doesn’t, the photo eyes or the opener logic board needs attention.
- Check the auto-reverse force setting. With the door opening, grab the bottom edge and apply moderate downward pressure as it rises. It should reverse. If it powers through your resistance, the force setting is too high and needs adjustment by someone who understands opener programming.
Testing monthly instead of “whenever I remember” matters because these systems fail silently. A door can pass one test, then have a sensor drift out of alignment the next week and now it won’t detect a child or a pet. If your opener is a Craftsman or Raynor from the early 2000s, pay extra attention to the manual release handle and make sure the red emergency release cord still functions. Mechanical releases that haven’t been pulled in years can seize, and that’s a whole separate problem when you need to run the door manually during a power outage.
Seasonal Maintenance Checklist for Livermore’s Climate
Livermore doesn’t get the freeze-thaw punishment of the Midwest or the salt air of a beach town, but it has its own weather patterns that shape how garage doors wear. The daily temperature swing is the big one, and the dry dust of summer is the second. Here’s a season-by-season checklist that accounts for both. You won’t find “check for ice buildup” or “rinse off road salt” on this list, because neither applies here.
Spring (March – May)
- Do the full 90-second visual inspection from the section above, with special attention to cables that sat through a winter of daily hot-cold cycles.
- Lubricate hinges, nylon rollers, and bearing plates for the first time of the year.
- Check weatherstripping along the bottom of the door. Livermore’s spring winds kick dust and leaves under doors with cracked or flattened seals. A new bottom seal is cheap and easy to order.
- Test both safety systems: auto-reverse and photo eyes.
Summer (June – September)
- Watch for opener overheating on the hottest days. A garage that hits 105 degrees by 4pm makes an older motor work harder. If the opener starts to labor or shut off mid-cycle, the motor may be overheating, and a garage door opener repair visit beats getting stranded at the worst time.
- Keep tracks clear of dust buildup. A dry micro-towel wiped along the inside of the vertical tracks once a month keeps the dust that kicked up during dry spells from grinding into roller bearings.
- Re-check weatherstripping. Heat breaks down cheap rubber seals fast. If it’s cracked by August, replace it before fall wind pushes debris in.
Fall (October – November)
- Second lubrication of the year, same spots as spring.
- Tighten visible bolts and lag screws on the track brackets and hinges. Seasons of vibration loosen them, and a loose top bracket is why doors start rattling on windy fall afternoons.
- Run a full balance test. Pull the red release handle to disengage the opener, then lift the door halfway by hand and let go. A balanced door stays put or moves an inch. A door that drops or springs up has a spring problem.
Winter (December – February)
- Keep the photo-eye lenses clean. Winter low sun and morning dew leave lenses hazy, and a hazy lens can read as an obstruction.
- Check that the manual release handle hasn’t seized. You won’t need it for cold weather, but you want to know it works before you ever do need it.
- Listen to the door on cold mornings. Metal contracts slightly, and that can make a minor hardware noise more audible. A new rattle in January is often a loose hinge that’s been loose since the fall tightening.
If all of this feels like a lot, remember that most of it is visual and takes minutes. The homeowner who does the monthly inspection and the twice-yearly lubrication has already caught more than the homeowner who does nothing and hopes for the best. The seasonal list is backup for the things that don’t fail on a strict calendar schedule.
DIY-Safe Tasks vs. Jobs That Involve Stored Spring Tension
There’s a hard line in garage door maintenance, and it’s drawn at the spring assembly. On one side of the line are tasks any Livermore homeowner can do with a stepladder and a socket set. On the other side are tasks that involve stored mechanical energy strong enough to break fingers, crush hands, or send a cable whipping across the garage. The industry doesn’t hide this line. Spring, cable, and drum work requires training and specific tools, and even experienced technicians treat a tensioned spring with real respect.
DIY-safe maintenance:
- All of the visual inspection items from this guide
- Lubricating hinges, nylon rollers, and bearing plates
- Cleaning photo-eye lenses with a soft cloth
- Tightening loose bolts on track brackets, hinges, and opener mounts
- Replacing bottom weatherstripping (slide-out designs on most doors)
- Testing auto-reverse and photo eyes
Hands-off, call a professional:
- Anything involving torsion or extension springs. Adjusting, replacing, even “looking at it closely with a wrench in your hand” – all of it is a no. A torsion spring on a double-wide door can hold several hundred pounds of torque. If it releases while you’re in its path, the injury is serious.
- Lift cables and cable drums. Cables carry the same spring tension. A frayed cable under tension can snap and cut through skin. Replacing cables means de-tensioning the spring first, which is the pro’s domain.
- Track removal or major realignment. Removing a vertical track section changes the geometry of the whole system, and a misaligned door can come off its tracks and fall.
- Opener motor internals. Replacing a motor, gear kit, or logic board inside a LiftMaster or Chamberlain opener is repair work, not maintenance. The high-voltage capacitor in an opener can hold a charge even unplugged.
- Panel replacement on a section that’s under the torsion tube. One damaged panel can be replaced, but getting it out sometimes means supporting the remaining sections under spring load. That’s not a first-timer job.
The pattern here is easy to remember: if the part stores or carries spring tension, it’s not a DIY item. If the part attaches with visible bolts and has no stored energy, you can probably handle it. When in doubt, a professional assessment costs less than a hand injury, and every Garage Door Repair Livermore technician’s priority is confirming that assessment honestly. We answer 24/7. Fast dispatch from 7am to 7pm, Sunday through Friday.
Brand-Specific Considerations for Amarr, Wayne Dalton, Craftsman, and Raynor
One thing we’ve earned from being brand-fluent across eight major manufacturers is that maintenance reminders change slightly depending on what’s bolted to your garage ceiling. Every brand has a couple of quirks that a generic checklist never covers. If your door or opener falls into any of these categories, the tips below are worth folding into your routine.
Amarr Doors
Amarr builds a lot of steel-back insulated doors in the Livermore market, and those doors are heavier than their non-insulated siblings. That weight sits on the springs and cables, not on the opener, and it means an Amarr owner should be extra attentive to the visual spring and cable inspection. A heavier door wears springs to their rated cycle limit faster. If your Amarr door has a visible torsion spring with a gap, stop using the door immediately. Amarr’s nylon rollers are generally good quality, but the roller stems are what fail over time through ordinary heat cycling. Check them monthly.
Wayne Dalton Doors
Wayne Dalton’s TorqueMaster system is the exception to almost every rule about torsion springs. Unlike a standard torsion setup with exposed springs above the door, the TorqueMaster hides its springs inside a tube. That means the visual “look for a gap in the coil” step doesn’t apply. For TorqueMaster owners, the maintenance cue is different: if the door starts feeling heavier to lift by hand or the opener starts straining, the internal spring assembly is likely nearing the end of its life. Testing the balance by hand every fall is the best early-warning system for this style. Never attempt to open a TorqueMaster tube yourself; the same storage tension rules apply, just hidden from view.
Craftsman Openers
Craftsman openers from the late 1990s and 2000s are still common in Livermore garages, and the weak point we see most is the plastic drive gear inside the motor unit. It’s not a maintenance item in the sense of something you oil or adjust; it’s a wear item that eventually strips. The telltale sound is a running motor with a door that doesn’t move, or a door that opens halfway and shudders. If your Craftsman opener is original to a 2002-era home, it’s past its expected life, and a gear replacement is often possible even if the motor itself is fine. The opener repair is a standalone job, not a door repair add-on.
Raynor Openers and Doors
Raynor is less common in our service area than Chamberlain or LiftMaster, but we work on them regularly enough to know their personality. Raynor doors are built with solid factory hardware, and the main failure we see is environmental: the factory grease on carriage house hinges dries out after years of Livermore summer heat, and the hinges get stiff before they get noisy. A Raynor owner who keeps up with twice-a-year hinge lubrication avoids most of the issues we’d otherwise see. On the opener side, older Raynor opener logic boards can be sensitive to power fluctuations, so having a surge protector on the opener outlet is cheap insurance.
Brand-agnostic knowledge means a Raynor hinge isn’t treated like an Amarr hinge by guessing; it’s treated based on what the manufacturer actually designed. The right fix isn’t dependent on which logo is on the door, and that’s the point of being brand-fluent across all eight major names rather than specializing in one.
Common Mistakes to Avoid
- Spraying WD-40 on rollers and springs. It strips lubrication and attracts dust in Livermore’s dry months. Use white lithium grease or a garage-door-specific spray instead, and never on springs at all.
- Oiling the tracks. Tracks are guide rails, not lubrication surfaces. Greasy tracks collect the valley dust that’s always in the air and turn it into grit inside every roller bearing.
- Ignoring a noisy door because “it’s been doing that for years.” A noise that’s been there for years is a wear pattern that’s been advancing for years. By the time a roller flattens or a hinge cracks, the noise is no longer the problem.
- Testing auto-reverse by waving a hand at the photo eye only. The photo eye check is half the safety test. The force-sensitivity test, pushing down on a rising door, is the other half, and most people skip it.
- Tightening a bolt near the spring without releasing tension first. Some hardware is load-bearing. A bolt that looks loose but sits in the spring assembly is under load, and turning it can release stored energy unpredictably.
- Using the red release handle during a problem instead of calling for help. The release handle disengages the opener, but it doesn’t solve a broken spring or cable. A door with a broken spring and the opener disengaged can still crash down if the spring gives way while it’s up.
- Replacing only one spring on a two-spring door. Springs are rated as a matched pair, and replacing one leaves the door unbalanced. A new and an old spring wear at different rates, and the old one fails soon after. The fix is a pair, at roughly twice the single-spring price.
When to Call a Professional
Any visible gap in a torsion spring, fraying on a lift cable, a door that comes off its track, or an opener that stops mid-cycle on a hot Livermore afternoon is a professional call. Same goes for any balance test where the door drops, any auto-reverse test it fails, and any noise that’s new and persistent. The cost of a professional inspection is almost always lower than the cost of a door that falls, a spring that snaps while you’re standing near it, or a car that’s trapped in the garage on a morning when you can’t be late. Garage Door Repair Livermore offers free estimates in Livermore – call (833) 593-6272. We answer 24/7. Fast dispatch from 7am to 7pm, Sunday through Friday.
Frequently Asked Questions
Twice-yearly lubrication and a monthly 90-second visual inspection is the right cadence for most Livermore homes. The inspection takes barely more than a minute, and the lubrication sessions are 15 minutes each with the right product and a stepladder. Skip the monthly inspection and problems that were small and visible become big and urgent.
No. WD-40 is a water displacer and solvent, not a long-term lubricant, and it strips the existing protective film from metal parts. Use white lithium grease or a garage-door-specific spray. Nylon rollers get a light touch on the wheel bearings only; metal rollers need a little more since Livermore’s dust works into open bearings.
Visually, a visible gap in the spring coil above the door means it has already snapped and the door is unsafe to move manually. Audibly, a loud bang from the garage that sounds like something heavy hitting the floor is the sound of a spring breaking. In both cases, leave the door where it is and call a professional.
Pull the red release handle to disengage the opener, then lift the door by hand to waist height and let go. A balanced door stays roughly in place. One that drops fast has a spring that’s failing or failed; one that rises on its own has too much spring tension. Both conditions point to spring work, which is not a DIY task.
It’s almost always an opener problem, and on older Craftsman units, the usual culprit is a stripped plastic drive gear inside the motor housing. The motor runs, the gear slips, and the door never engages. It’s a garage door opener repair rather than a door repair, and it’s something a brand-fluent opener specialist can diagnose in minutes.
Yes, in nearly every case. Torsion springs wear at the same rate, and a door with a broken spring has a second spring just as tired. Replacing only the broken one leaves a door that’s imbalanced, works the new spring harder, and fails the old spring soon after. A matched pair replacement costs about twice the single-spring price and lasts far longer than paying twice eventually.
The Bottom Line
The garage door maintenance checklist for Livermore homeowners isn’t long, but it’s specific. Inspect monthly, lubricate correctly twice a year, test the safety systems every month, tighten hardware each fall, and keep your hands off of anything that carries spring tension. Use the right products, not whatever’s in the cabinet, and don’t turn a lubrication task into a repair by spraying the wrong thing on the wrong part. Most importantly, know where the line is between maintenance and repair. The homeowner who follows this guide catches small problems before they become big ones, and makes the right call at the right time. For anything past that line, call (833) 593-6272 for a free estimate. We answer 24/7. Fast dispatch from 7am to 7pm, Sunday through Friday.
Written by the team at Garage Door Repair Livermore, serving Livermore since 2012.
See the difference
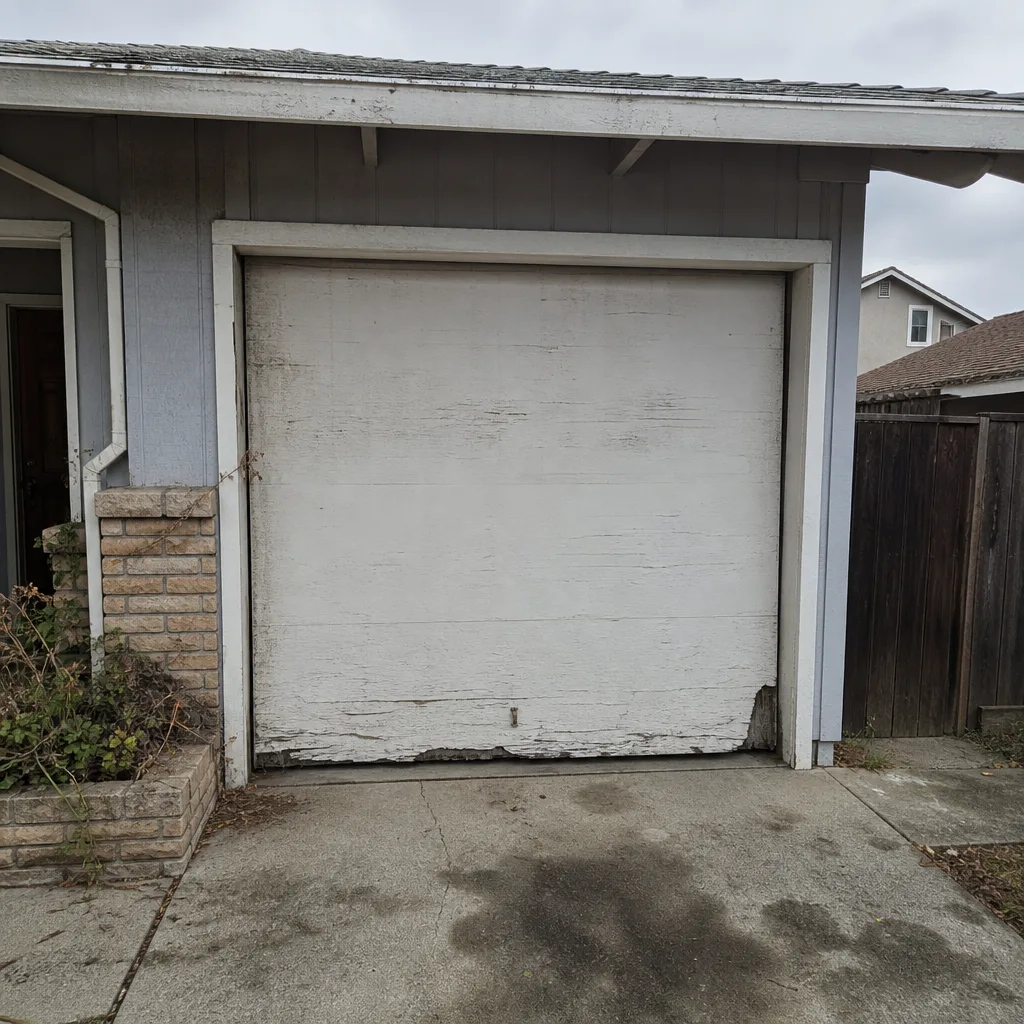 Before
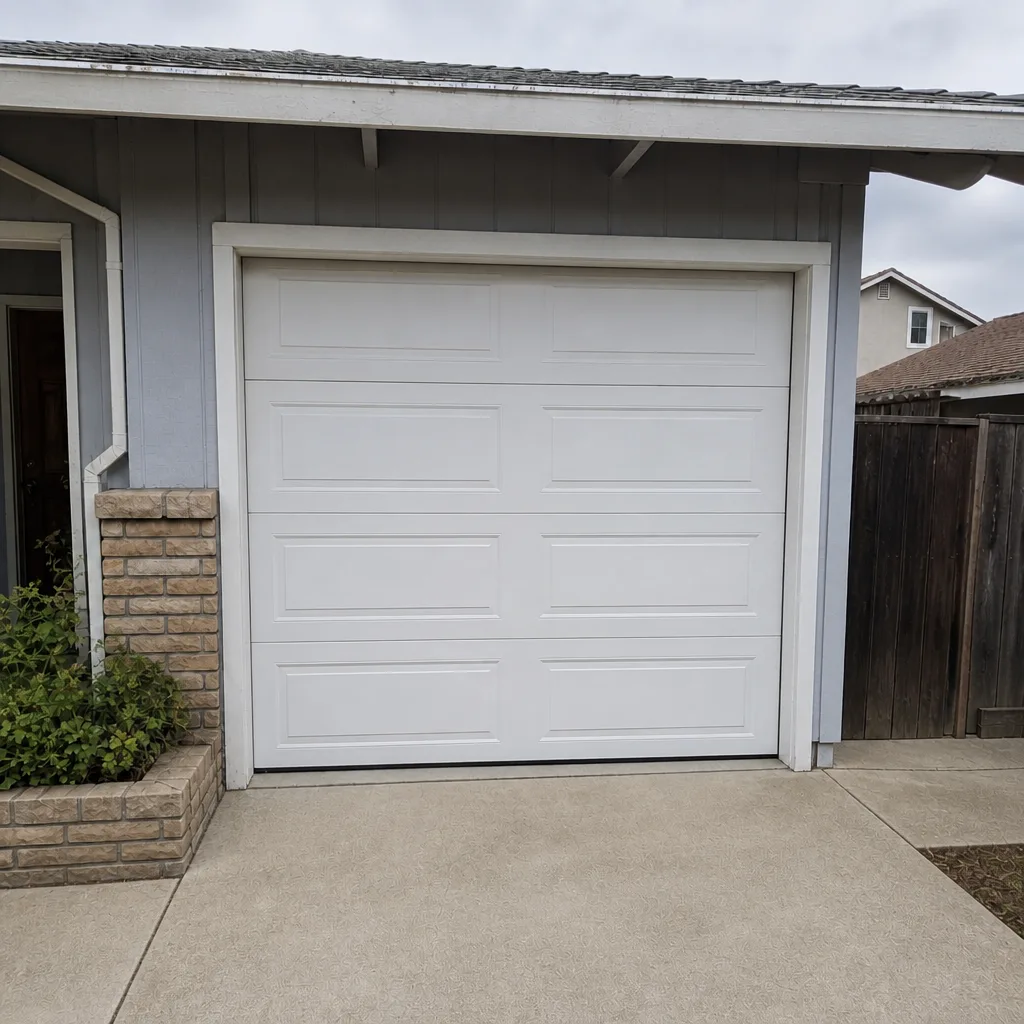 After
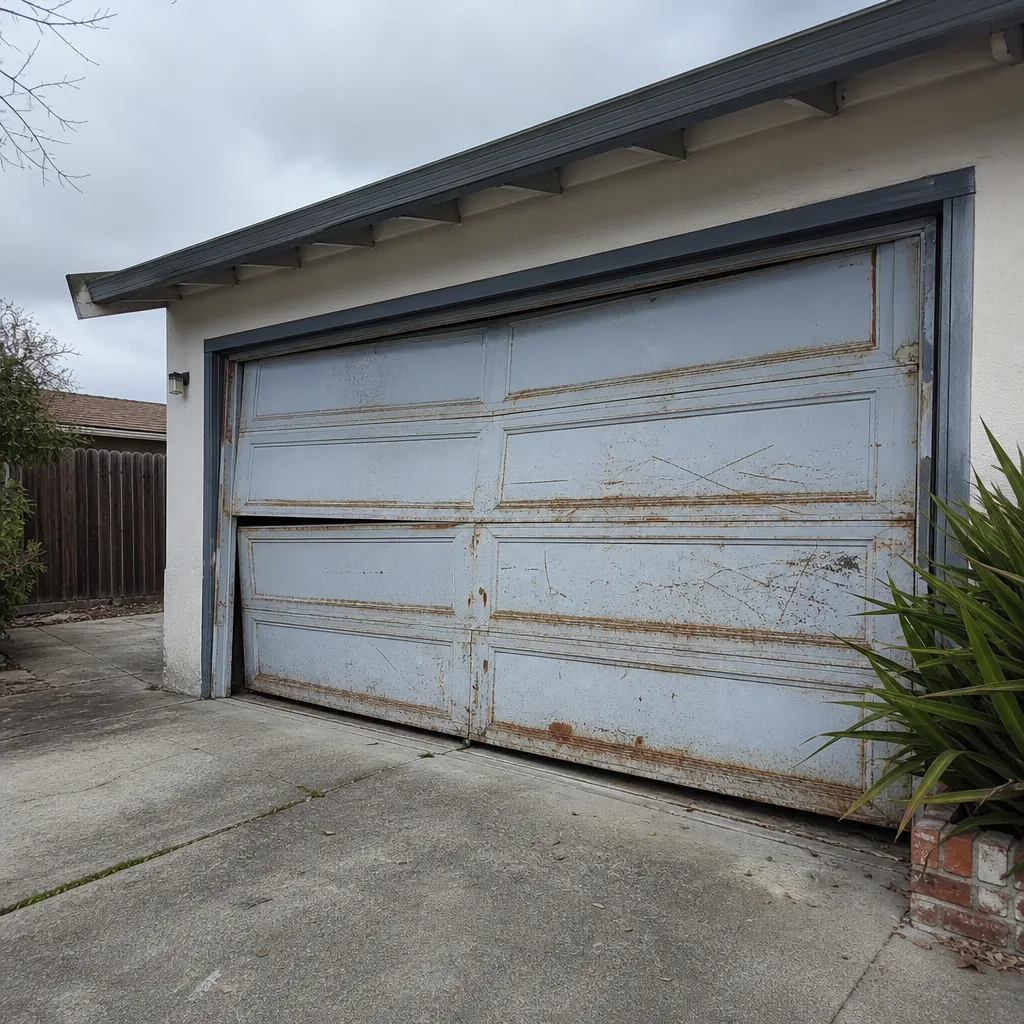 Before
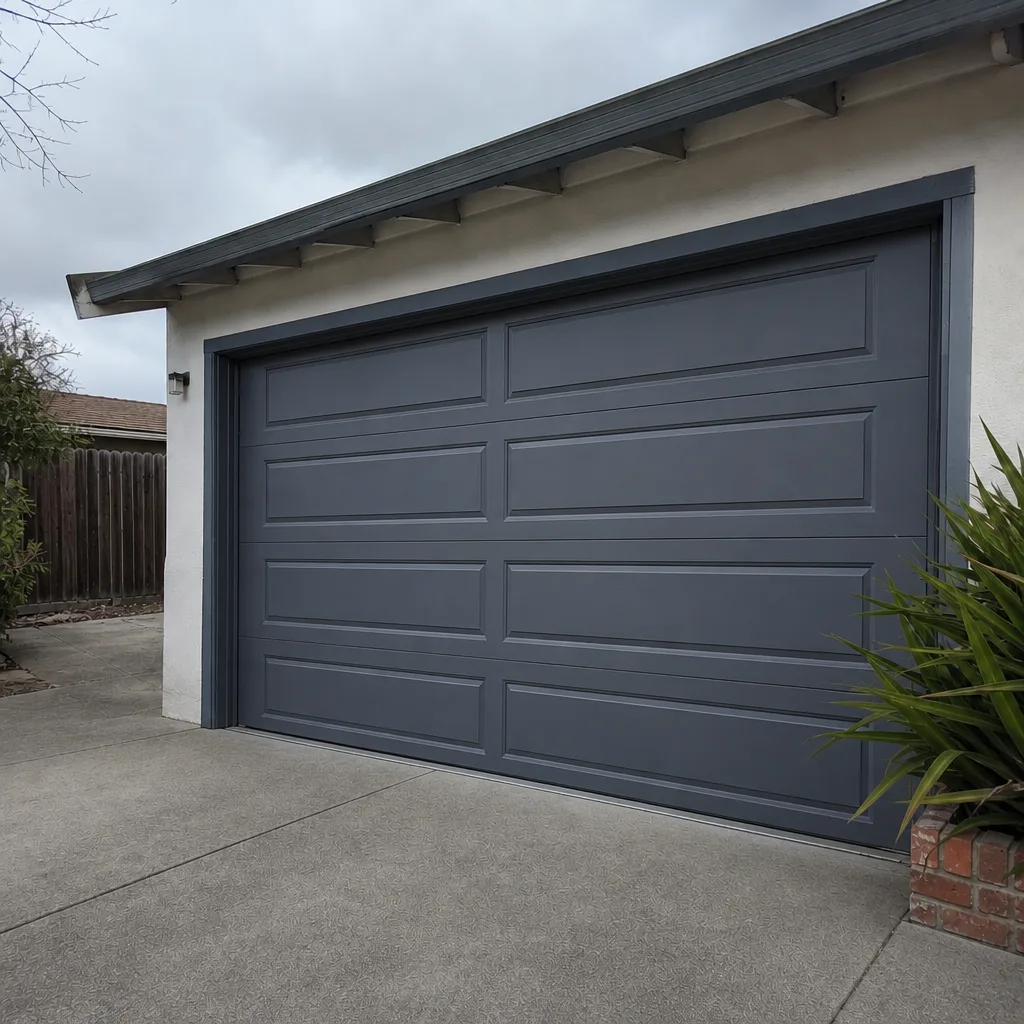 After
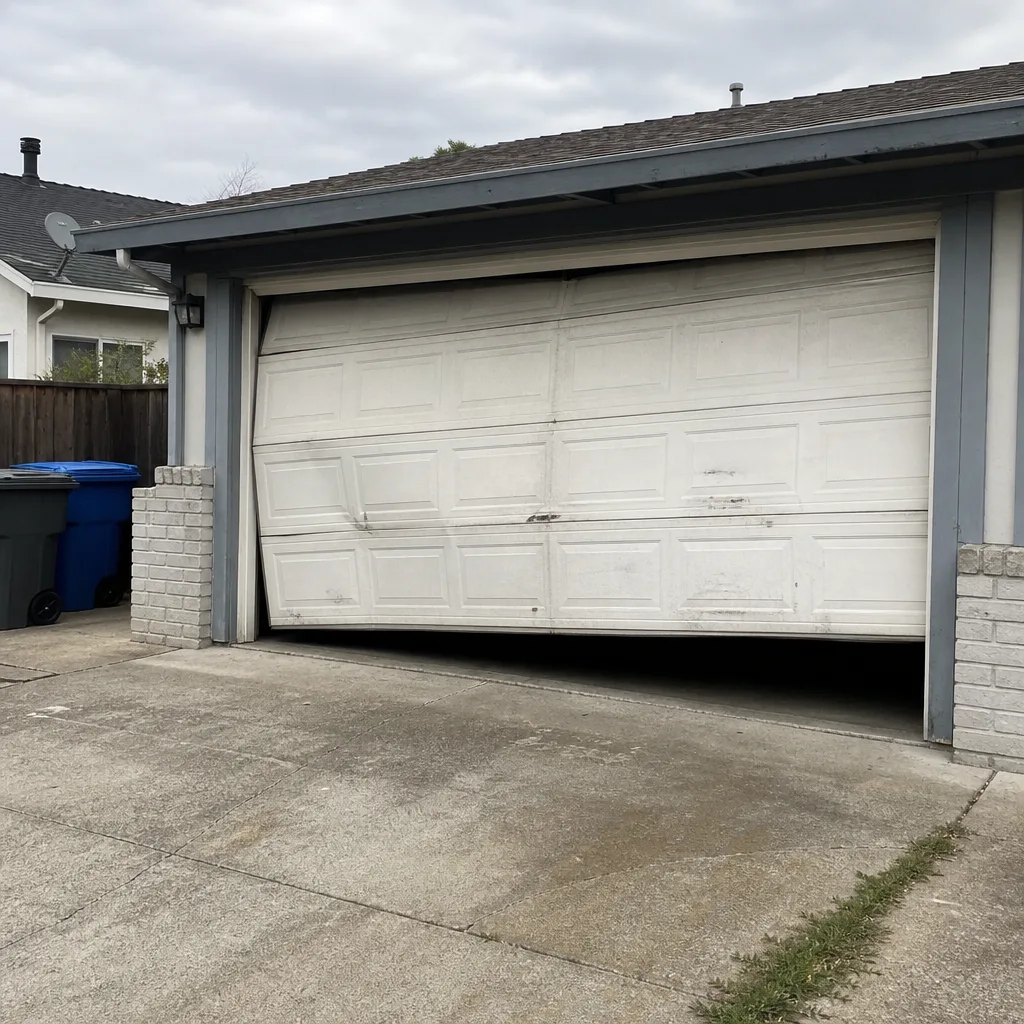 Before
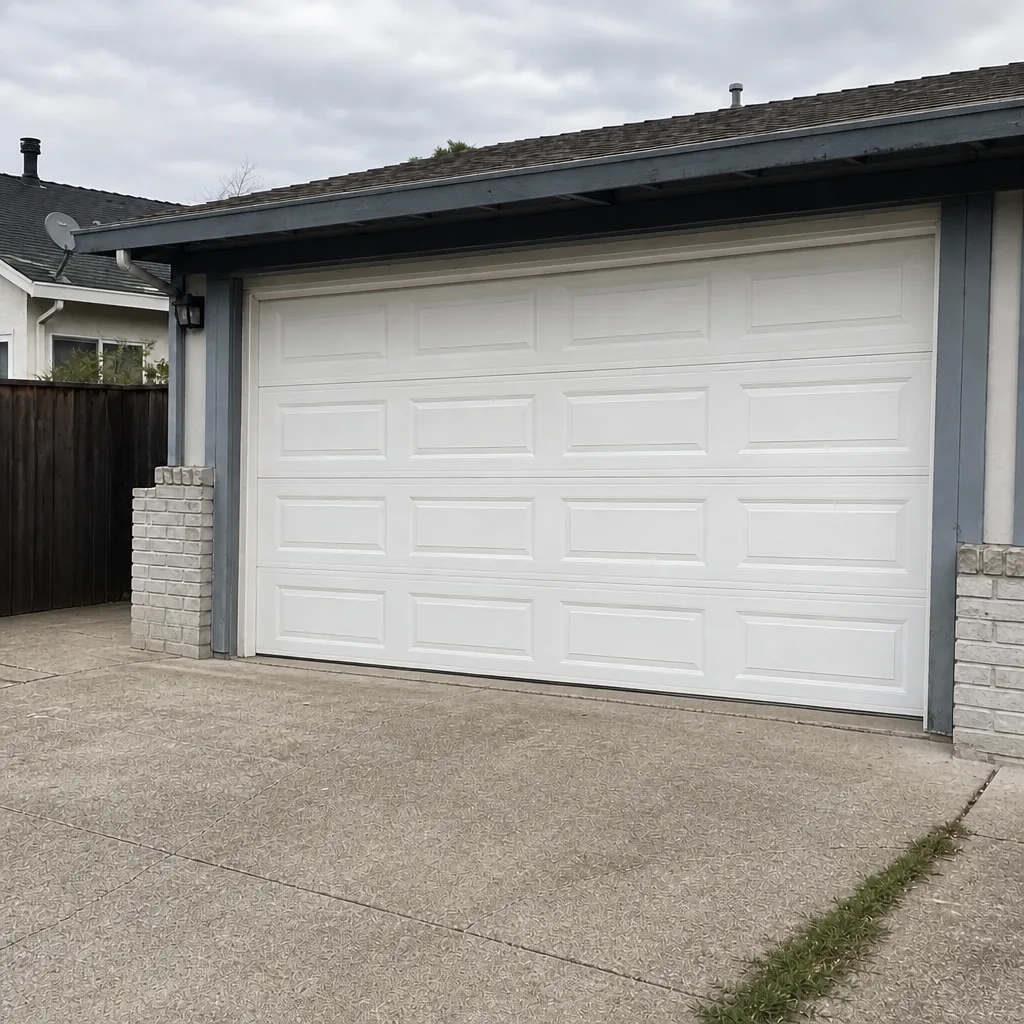 After